
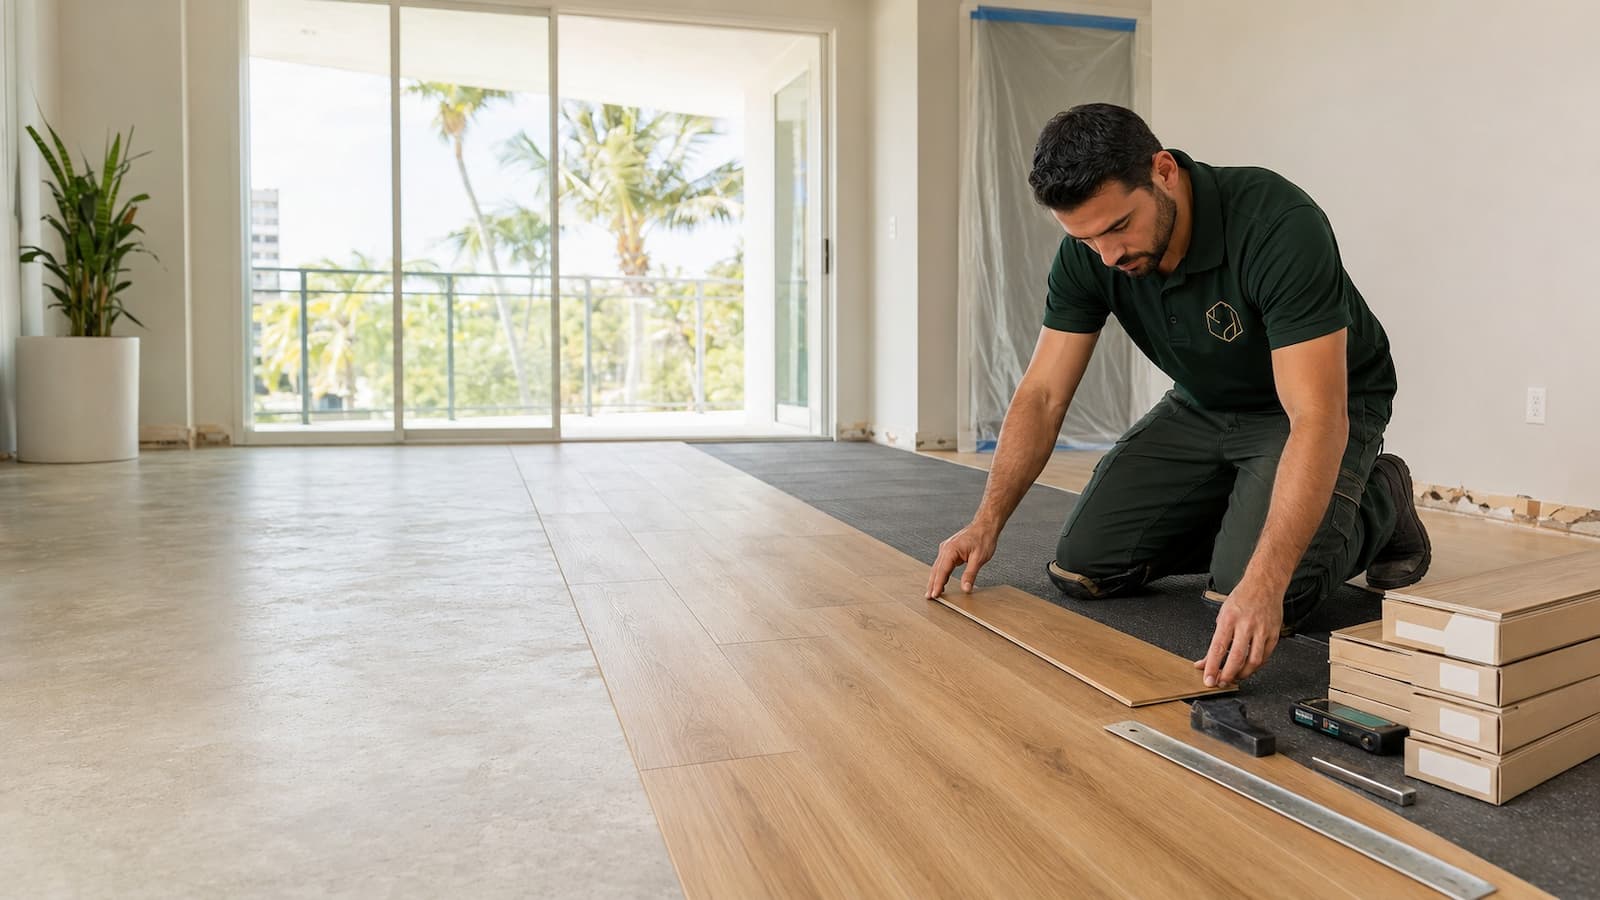
Condo Flooring Installation in Largo, FL
Condo flooring has two audiences: the people living in the unit and the building around them. That changes the job. SVR FLOORS plans the installation around the approved floor assembly, sound-control requirements, existing slab or subfloor, access schedule, and the finish details you will see every day.
- Association-aware planningWe work from the flooring rules and approval conditions your building provides.
- Acoustic assembly reviewUnderlayment is selected around the required system, not a generic sound claim.
- Prep before installationFlatness, moisture clues, old adhesive, and damaged areas are checked first.
- Clean building logisticsAccess, protected travel paths, work hours, debris, and transitions are planned early.
The building requirements belong at the beginning of the project
Replacing condo flooring is different from updating a detached home. The association may regulate hard-surface coverage, acoustic test data, work hours, contractor access, elevator use, debris removal, and balcony finishes. Get the current packet before shopping. Those pages can change the product, underlayment, schedule, and quote.
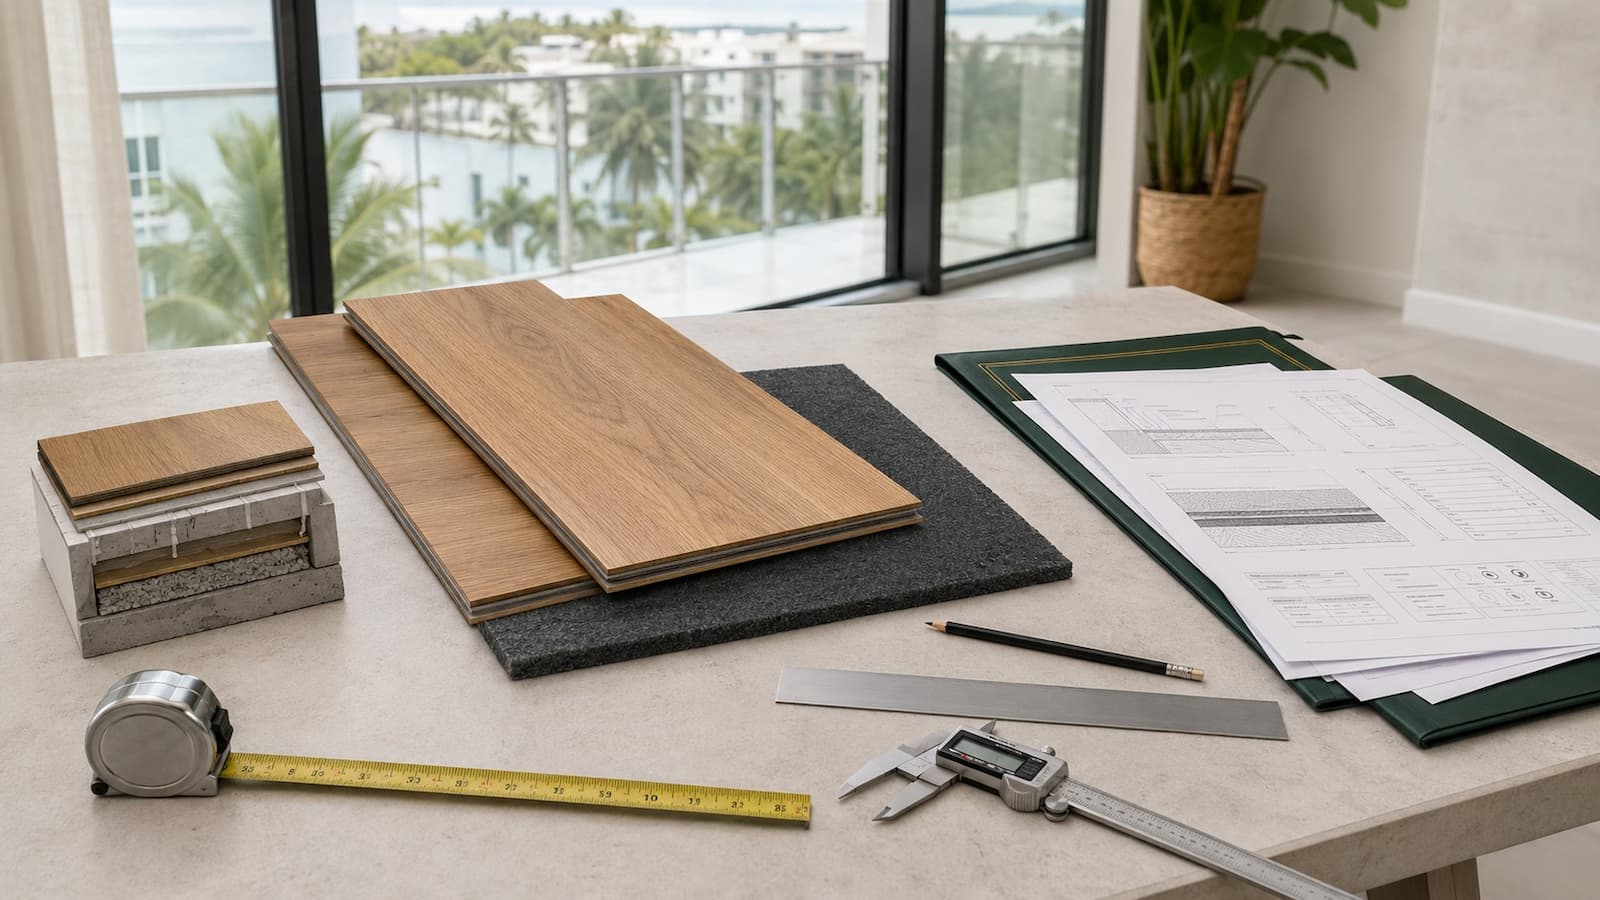
A practical approval checklist
Ask management for the current alteration or flooring package before committing to a floor. Rules do change. An older copy, a neighbor’s recollection, or a product marketing sheet may leave out a requirement that applies to your unit.
- Get the written flooring rules Confirm permitted materials, hard-surface limits, minimum acoustic criteria, required documents, and whether written board or management approval is needed.
- Match the whole floor assembly The flooring, attached pad or separate underlayment, installation method, and structural slab or subfloor all affect the documented acoustic result.
- Clarify access and protection Reserve the service elevator if required and confirm parking, loading, hallway protection, work hours, quiet hours, and debris procedures.
- Wait for approval before ordering A written approval tied to the selected system is safer than assuming a product is acceptable because it was used in another unit.
The best material is the one that fits the room, the assembly, and the building
A beautiful sample can still be the wrong floor for the building. A low-profile floating system may solve one unit’s transition problem, while another property calls for a specific membrane under tile or engineered wood. We compare the visible material only after the technical limits are clear.
Luxury vinyl plank
LVP is often a practical condo choice because it offers a wood-look finish, straightforward care, and a relatively low installed profile. It can work well through living rooms, bedrooms, hallways, and kitchens when the product and acoustic assembly are approved together.
Watch item: An attached pad does not automatically satisfy the building. Extra underlayment is not always permitted by the flooring manufacturer, either.
Explore LVP installationEngineered wood
Engineered wood brings genuine wood character with a construction that is generally more suitable for Florida interiors than many solid-wood applications. The approved installation method, moisture conditions, floor height, and sound-control layer need to be resolved before selection.
Watch item: A building may distinguish between floating and adhered systems, and the acoustic report must match the proposed method closely enough for review.
Explore wood flooringLaminate flooring
Laminate can deliver a clean visual update and a durable wear surface at a practical price point. In an upper-floor unit, the underlayment and the product’s installation instructions deserve close attention because a hollow or noisy floor is especially noticeable in shared buildings.
Watch item: Water exposure, perimeter movement space, doorway clearances, and the exact sound-control system can narrow the suitable product list.
Explore laminate installationPorcelain or ceramic tile
Tile is a strong interior option for bathrooms, kitchens, entries, and other areas where a durable, easy-to-clean surface makes sense. Because it is rigid, the substrate, crack conditions, finished height, layout, and any required sound-control membrane become part of the design.
Watch item: Tile can transmit impact noise readily. The building may ask for a specific tested assembly rather than a generic membrane data sheet.
Explore tile installationAlready have a product in mind? Send the model name, installation instructions, underlayment data, and the association’s flooring policy. We can compare those documents with the conditions visible in your unit.
Discuss Your FlooringRemoval reveals the conditions the new floor has to live with
Once the room is empty, the floor gets honest. Old carpet can hide slab patches. Existing tile may conceal cracks or leave stubborn mortar and height changes after demolition. Even a floating floor that comes up quickly can expose dips, loose patches, moisture staining, or door clearances that were never obvious from above. We evaluate what is actually there before finalizing the preparation method.
- Protect the route into the unit Building-approved travel paths, doors, elevator surfaces, and nearby finishes are addressed before materials move.
- Remove the existing floor within the approved scope The removal plan accounts for material type, noise limits, debris handling, room access, and any surfaces that must remain.
- Inspect the exposed slab or subfloor We look for flatness changes, weak patches, residue, cracks, damaged areas, and moisture clues that could affect the installation.
- Define preparation before covering it again Localized correction, floor leveling, subfloor repair, adhesive removal, or a transition change may become part of the scope.
- Install the approved flooring assembly The floor and sound-control layer are installed according to the selected system, room layout, and manufacturer instructions.
- Finish edges, transitions, and cleanup Doorways, perimeter details, baseboard decisions, protected common areas, debris, and the final walkthrough are closed out deliberately.
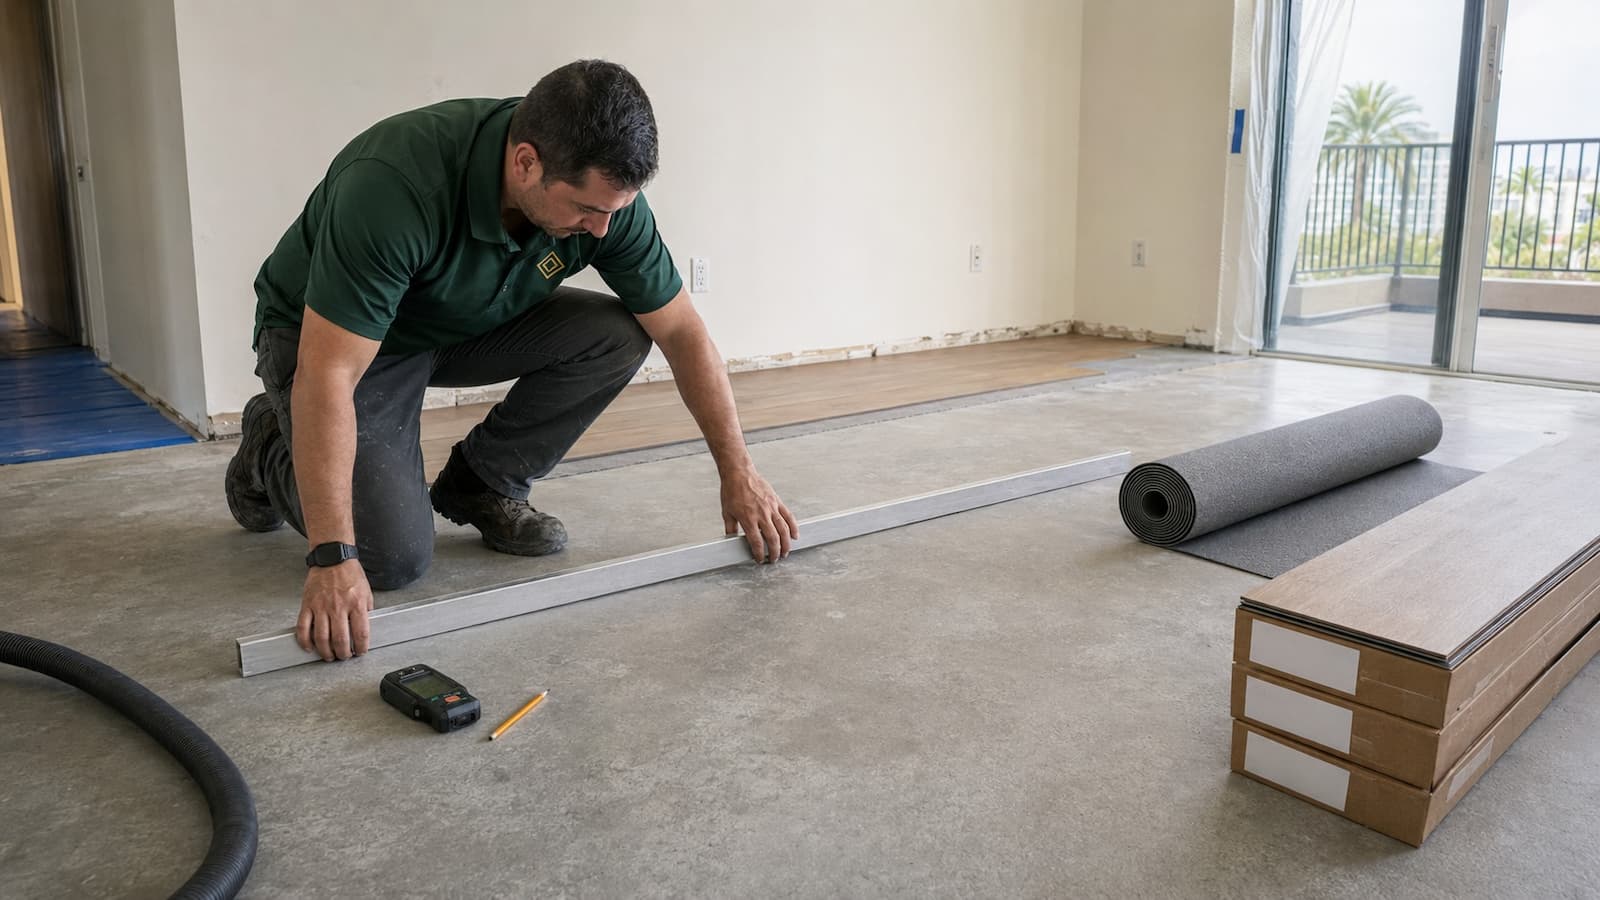 Slab & Subfloor Review
A flat floor is not the same as a perfectly level floor
Flooring manufacturers usually focus on flatness across a stated distance. We check the actual surface against the selected product’s instructions and plan corrections where they affect support, locking joints, tile layout, or transitions.
Condo flooring quotes are built around more than square footage
Square footage gives us scale, not the whole job. Two units with the same floor area can require very different labor once removal, elevator access, substrate condition, acoustic specifications, furniture, baseboards, doorway heights, and disposal rules enter the picture.
| Scope factor | What we need to understand | Why it can change the work |
|---|---|---|
| Existing flooring | Carpet, floating plank, glued flooring, tile, multiple layers, or material that will remain in selected rooms. | Removal method, noise, dust control, debris volume, exposed residue, and the condition left behind vary by material. |
| Substrate condition | Concrete or wood construction, flatness, cracks, patches, soft areas, old adhesive, and signs of prior moisture. | The new floor may need localized prep, broader leveling, subfloor correction, or a different installation approach. |
| Approved acoustic system | Required IIC, STC, or ΔIIC documentation and whether the building names a product, thickness, or test assembly. | The compliant underlayment or membrane can affect material compatibility, floor height, transitions, and labor. |
| Unit access | Floor level, elevator reservation, loading route, parking, travel distance, security procedures, and available work hours. | Material handling and daily setup take longer when the crew must work within scheduled building windows or long protected routes. |
| Finish details | Baseboards, quarter round, door jambs, thresholds, cabinets, sliding doors, appliances, and transitions to retained floors. | These details decide whether the finished floor looks integrated and whether doors and adjacent surfaces work as intended. |
| Occupancy and furniture | Vacant or occupied unit, furniture quantity, room sequencing, appliance movement, and areas that must remain usable. | Working around belongings can require staged installation, added protection, repeated setup, and more transition planning. |
| Balcony scope | Association approval, ownership of the surface, existing waterproofing, drainage, threshold height, exposure, and approved finish. | Exterior condo flooring is a separate assembly and cannot be estimated responsibly as an extension of the interior floor. |
A useful quote starts with useful project information. Floor plans, room dimensions, photos, product links, the current flooring type, the building’s alteration package, and access instructions help us identify questions before the site visit.
Send Project Details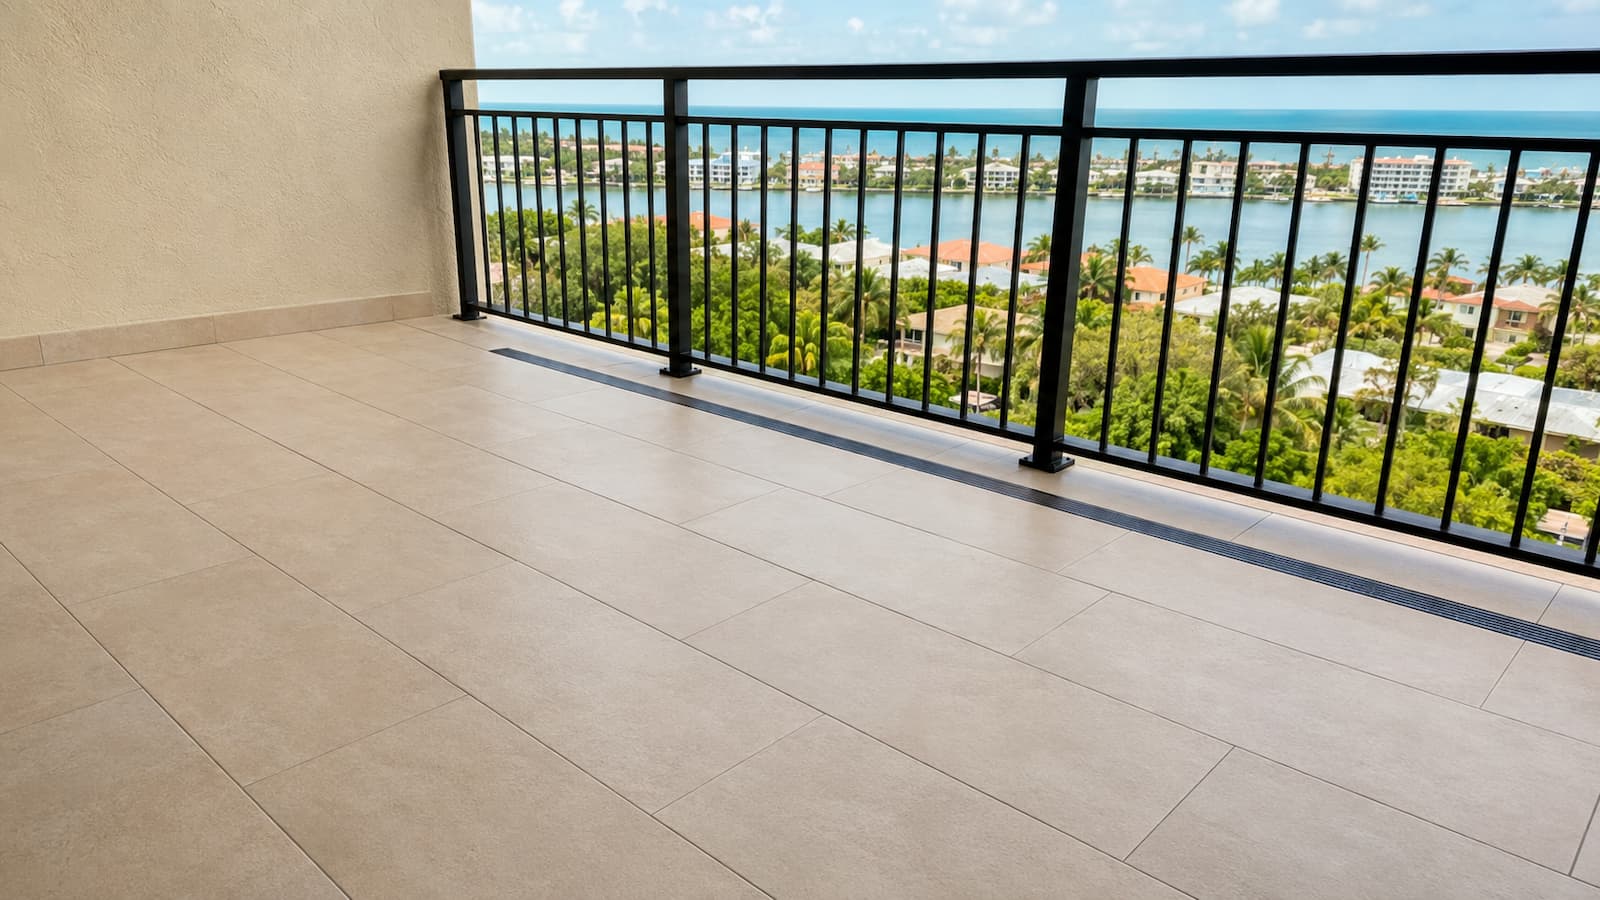
A balcony is not an outdoor continuation of the living-room floor
A balcony changes the rules again. Flooring for condo balconies has to tolerate sun, wind-driven rain, temperature swings, and wet foot traffic without blocking the way water leaves the structure. Under that finish sits a waterproofing and drainage system that the association may maintain or control. Written approval and a clearly defined scope are essential here.
- Confirm who controls the balcony assembly. The surface may be part of the unit, a limited common element, or association property under the governing documents.
- Protect drainage and threshold clearances. A new finish cannot block drains, reduce required clearances, or trap water against the sliding-door opening.
- Use an approved exterior-rated finish. Slip-resistant porcelain tile or a compatible paver system may be considered when the substrate, exposure, and association rules support it.
- Do not cover an active water problem. Leaks, failed waterproofing, structural movement, or damaged concrete need the appropriate building or specialty trade before a finish floor goes over them.
- Avoid unapproved penetrations. Drilling or fastening through a protected membrane can create a much larger problem than the flooring update was meant to solve.
Balcony availability and scope depend on the existing assembly and written building requirements. SVR FLOORS can evaluate the finish-floor portion after those boundaries are clear.
A sequence that keeps approval, preparation, and installation connected
No one wants to discover an acoustic-document problem after boxes arrive in the unit. We settle the technical questions first, then connect the association documents, site conditions, selected flooring, and building logistics in one defined scope.
Share the unit details and building rules
We start with the rooms, current floor, desired material, occupancy, timing, and the association’s current flooring or alteration package.
Measure and inspect the existing floor
The site review looks at layout, substrate, removal needs, flatness, transitions, door clearances, moisture clues, and the access path.
Align the material with the approved assembly
Flooring and underlayment are considered together, including installation instructions, acoustic documentation, thickness, and compatibility.
Define the scope before scheduling
The estimate separates known removal, preparation, installation, finish details, and condo-related logistics so responsibilities are understandable.
Confirm approval and building access
The owner confirms written authorization. Work dates, elevator windows, parking, protection, daily cleanup, and debris procedures are coordinated.
Prepare, install, and walk the floor
After the surface is ready, we install the approved system, complete transitions and perimeter details, clean the work area, and review the result.
Provides the current rules, secures association approval, confirms building access, and identifies any forms or deposit requirements controlled by management.
Evaluates the unit, defines the flooring scope, works from the approved product requirements, plans preparation and transitions, and completes the contracted installation.
Flooring work that pays attention to what happens before the first row
Most flooring problems start earlier than the first row of plank or tile. SVR FLOORS is based in Largo and treats the job as a complete installation, including the surface, layout, sound-control layer, transitions, cleanup, and final walkthrough.
We look below the finish material
Concrete variation, damaged subfloor sections, old adhesive, soft spots, and moisture history can change the installation. We identify those conditions instead of treating the new floor as a cover-up.
The estimate reflects the real unit
Removal, preparation, the approved acoustic layer, material handling, transitions, and finish work are discussed around the space we inspect—not a one-line square-foot assumption.
Shared spaces are part of the jobsite
Condo work starts before the front door. We account for the designated route, elevator or stair access, nearby finishes, daily cleanup, and the building procedures provided for the project.
Layout and transitions are planned, not improvised
Long sightlines, hallways, sliding doors, retained tile, bedroom thresholds, and baseboards all influence how complete the floor feels. These details are considered before they become awkward last-minute cuts.
The project ends with a walkthrough
We review the installed floor and visible finish points, remove installation debris within the contracted scope, and leave the owner with a cleaner handoff. Flooring installation services also include an SVR FLOORS workmanship warranty.
Local condo flooring in Largo and nearby Pinellas County communities
SVR FLOORS serves Largo as its home base and works throughout nearby areas including Clearwater, St. Petersburg, Seminole, Dunedin, Palm Harbor, Pinellas Park, and Safety Harbor. Availability depends on project scope, building access, and scheduling.
Questions to settle before the old floor comes out
Every association writes its own documents, and the current version controls the project. The answers below cover the practical questions we would rather resolve before the old floor comes out.
Do I need condo association approval before replacing flooring?
Many condominium associations require written approval before hard-surface flooring is installed, and some require approval for any floor replacement. Ask management for the current alteration package and confirm the rule in writing. The building may request product specifications, acoustic test documents, contractor information, work dates, deposits, or elevator reservations before the project can begin.
What do IIC and STC mean for condo flooring?
IIC relates to impact sound, including footsteps and dropped objects, moving through a tested floor-ceiling assembly. STC relates to airborne sound such as speech or television. A building may name a minimum value or request a laboratory report for a particular assembly. The number printed on an underlayment package should not be assumed to describe your exact floor and building construction.
Is the attached pad on vinyl plank enough for a condo?
Sometimes, but not automatically. The attached pad has to be evaluated against the association’s requirements and the product’s tested documentation. Adding a second underlayment is not a universal solution; some flooring manufacturers restrict extra layers because too much movement beneath the locking joints can affect performance or warranty coverage.
What is the best flooring for a condo in Largo?
LVP is a common practical choice, engineered wood offers a genuine wood finish, laminate can work for value-focused interiors, and tile is useful in kitchens, baths, and entries. The better answer depends on the building’s approved acoustic assembly, the unit’s slab or subfloor, moisture exposure, floor height, desired look, upkeep, and transition conditions.
Can new condo flooring be installed over existing tile?
It may be possible when the tile is stable, sufficiently flat, clean, and compatible with the new flooring instructions. The added height must also work at doors, appliances, cabinets, sliding-door tracks, and transitions. Association rules or the condition of the tile can still make removal the better option, so the floor needs an on-site evaluation first.
Can you remove old tile or glued flooring in an occupied condo?
Removal may be possible, but the plan depends on the material, unit access, furniture, dust control, debris route, and the building’s permitted work hours. Tile and adhered flooring can be noisy and may reveal preparation needs after removal. We define the sequence around the actual conditions instead of promising a universal one-day demolition.
How long does condo flooring installation take?
The installation timeline starts after association approval, building access, materials, and site readiness are confirmed. A straightforward occupied-room project and a whole-condo replacement with tile demolition, slab corrections, furniture sequencing, or narrow elevator windows will not take the same amount of time. The estimate should include a practical schedule based on the inspected scope.
Can I stay in the condo while the floor is replaced?
Often, yes, but it depends on the number of rooms, removal method, noise, dust, access to bedrooms and bathrooms, furniture movement, and whether flooring runs continuously through the unit. Some projects can be staged. Others are cleaner and faster in a vacant space. We can discuss room sequencing during the site review.
What flooring can be used on a condo balcony?
An exposed balcony needs an exterior-rated, slip-resistant finish that the association allows and that works with the existing waterproofing, drainage, slope, and threshold. Indoor LVP, laminate, and most wood flooring should not be carried onto an exposed balcony. Active leaks or failed waterproofing need the appropriate building or specialty trade before finish flooring is considered.
What should I send when requesting an estimate?
Send the condo address, room list or floor plan, approximate square footage, photos, existing flooring type, preferred material, occupancy details, desired timing, and the association’s flooring or alteration package if available. Product links and acoustic requirements are especially helpful. We will still verify site conditions before the final scope is set.
Ready to replace the flooring in your Largo condo?
Tell us what is installed now, which rooms are changing, what material you are considering, and what your association requires. We will use that information to prepare for the site review and identify the details that belong in a clear installation scope.
1713 Whispering Dr E, Largo, FL 33771
Serving Largo and nearby Tampa Bay communities
Send your project details
Include the condo association requirements if you have them. Photos of the current floor, doorways, transitions, and balcony are useful too.
Approval note: The condo owner remains responsible for securing association or management authorization before work begins. Project scope and scheduling are subject to site conditions, product requirements, and building rules.