
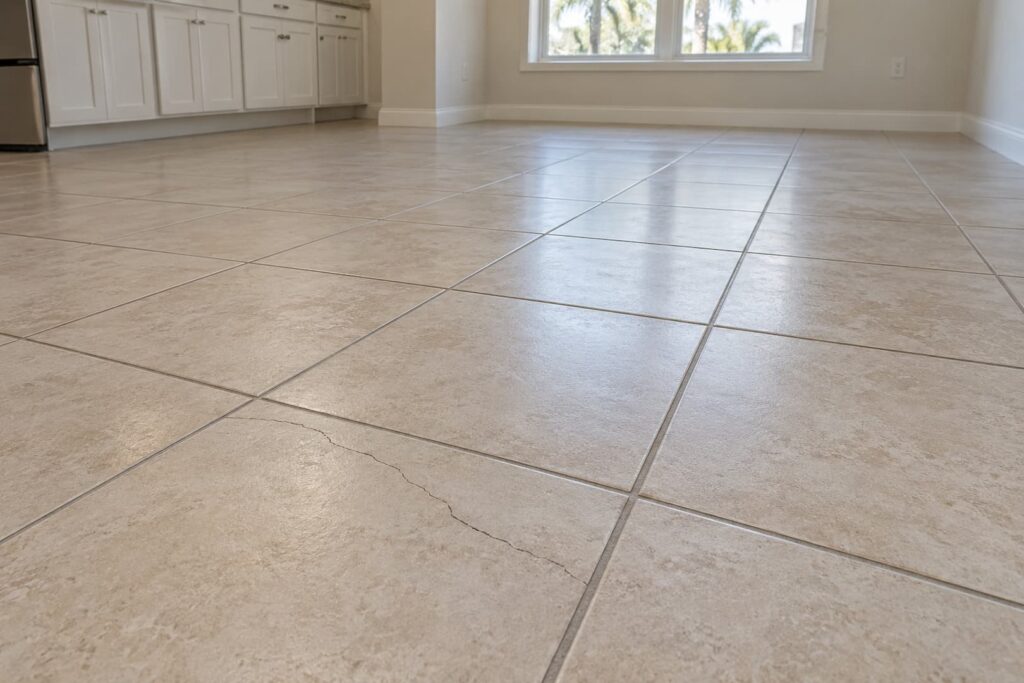
A tile floor can crack because something struck it, the tile lacks support underneath, or the floor assembly is moving. The pattern helps narrow the possibilities: one chipped tile tells a different story from a crack that crosses the room. A lasting repair depends on finding the cause before replacing the damaged pieces.
Before covering the crack or buying replacement tile, record where the damage is, when you noticed it, and whether it has changed. Photos help a flooring contractor plan an inspection. The bond beneath the tile and the slab’s condition still need checking on site. For homeowners in Largo and nearby Tampa Bay communities, that distinction can determine how much work the repair involves.
What the crack pattern can tell you
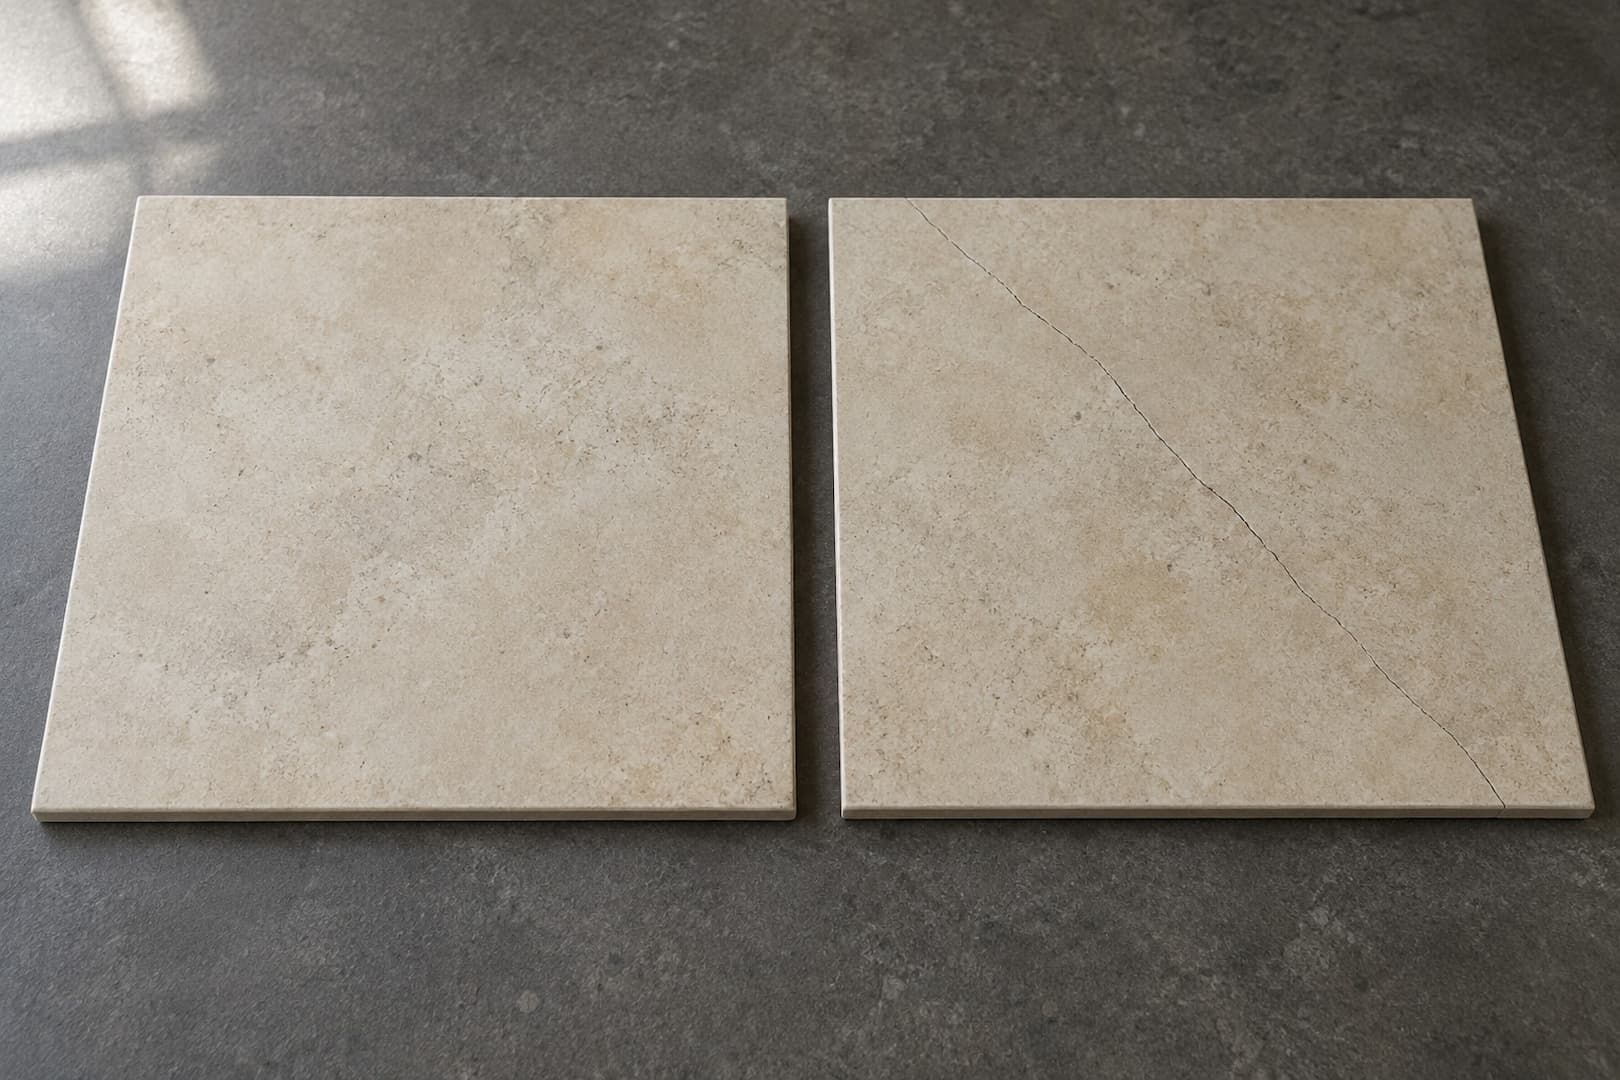
Look closely enough to distinguish the tile from the grout. Grout fills the joints between tiles; a line running through those joints may leave the tile faces intact. A crack through a tile may begin at a chipped point, travel from edge to edge, or continue into the next piece. Each observation gives the inspector something specific to check.
| What you see | What it may point to | What needs checking |
|---|---|---|
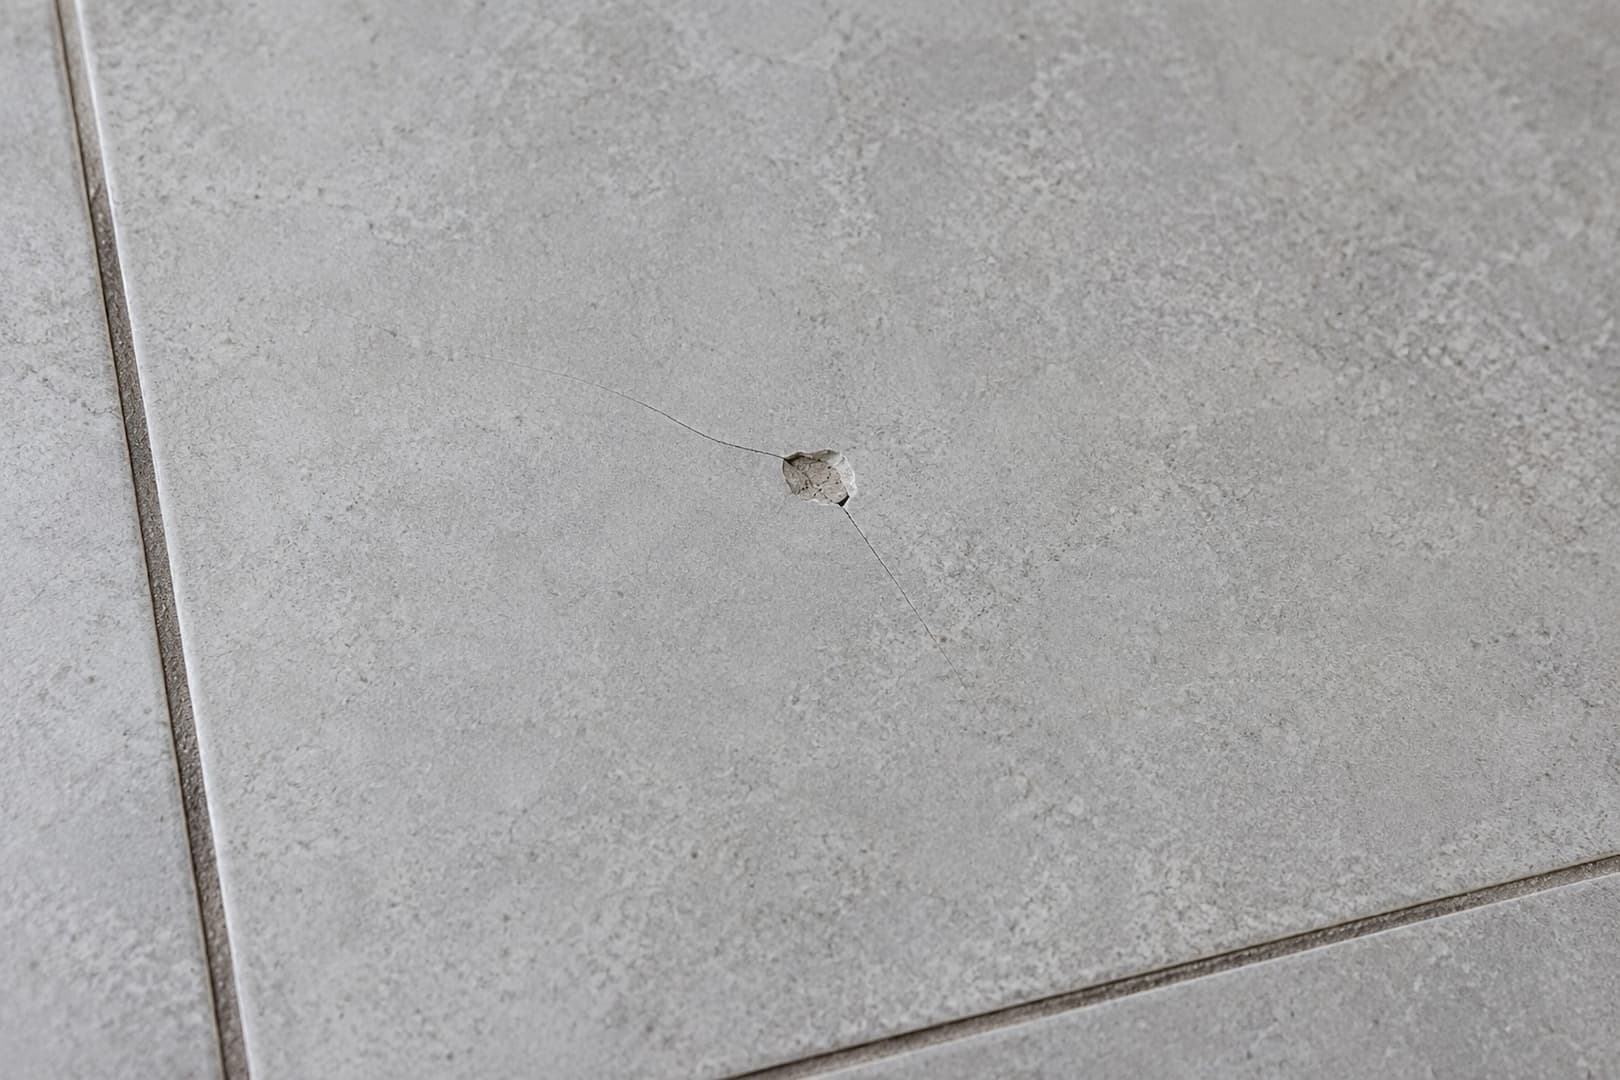
| One chip with short cracks around it | An impact or concentrated load | What happened there and whether the tile has sound support |
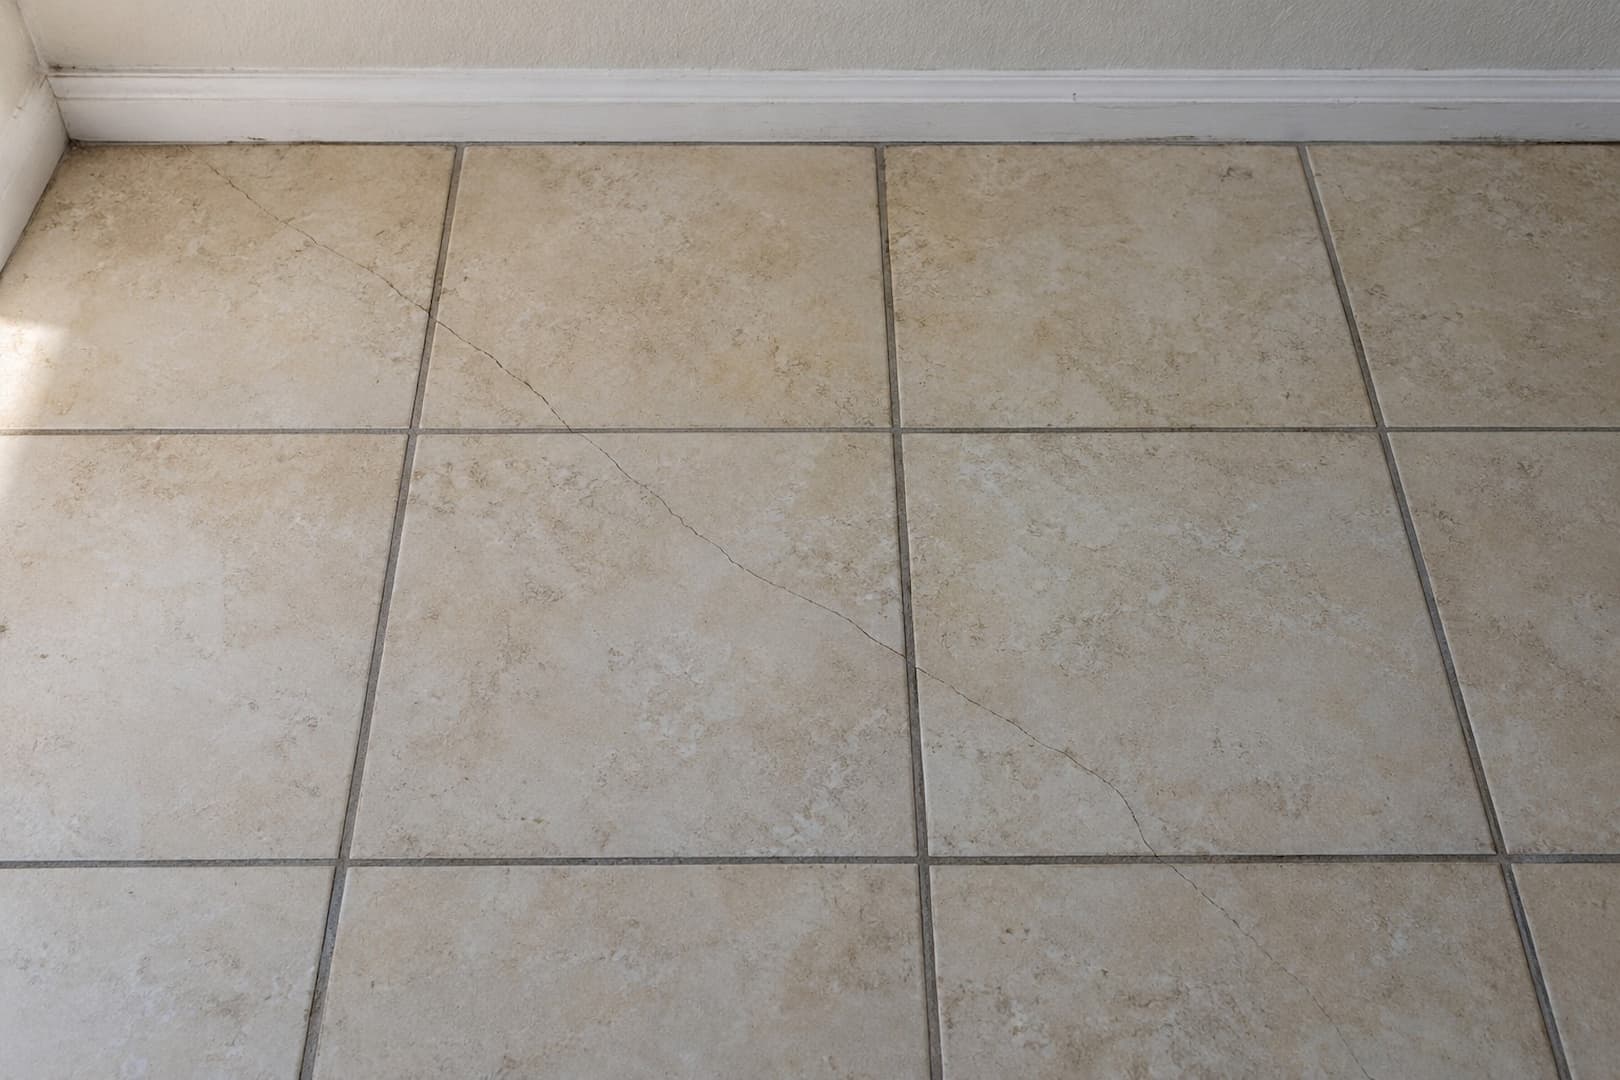
| A line crossing several tiles | Movement or a crack in the substrate | The slab, underlying joints, and any previous repair |
| Cracked grout with intact tile faces | Grout installation problems or floor movement | Grout condition and whether nearby tiles move |
| Cracks near a wall, doorway, or material transition | Restraint, a missing movement detail, or a change below | Perimeter gaps, transitions, and the floor construction |
| Tiles rising into a ridge or lifting loose | Tenting or loss of bond | The affected area and the forces acting on the assembly |
More than one cause can be involved. A tile might break when an appliance rolls over it because a void underneath leaves that part unsupported. Knowing about the appliance move helps, but the inspector also needs to check what was supporting the broken section.
Why tile floors crack
A dropped object or an unsupported tile
A dropped pan or heavy tool can damage an otherwise serviceable floor. If you remember the impact, the crack starts at that spot, and the surrounding tiles remain sound, replacing one tile may be reasonable. Keep the event in perspective: an isolated accident does not establish a room-wide installation problem.
The support underneath still matters. Voids in the mortar can leave a tile vulnerable when weight bears on that area. The Ceramic Tile Education Foundation explains that installers should verify mortar coverage by lifting tiles during installation. A large trowel or mortar on the back of the tile does not, by itself, demonstrate adequate contact. When a damaged tile comes out, the exposed mortar and tile back offer useful evidence.
A concrete crack carrying through the tile
On a concrete slab, a long crack in the finished floor may follow movement below. The Tile Council of North America describes this as reflective cracking: a crack in the concrete transfers into the tile covering. Tile bonded across an underlying joint can also be affected when that joint moves.
A narrow line might pass through four tiles, cross their grout joints, and disappear beneath a cabinet. Trace how far it goes. An inspector may need to examine the substrate under a damaged tile to learn why those pieces cracked together. Replacing them before that inspection risks losing evidence needed to plan the repair.
A small visible crack does not establish that a slab issue is harmless. Its history, movement, and any difference in height across it matter. If cracking is growing, one side is lifting, or you also see new wall cracks or doors beginning to bind, arrange a building assessment before committing to a flooring repair. The tile contractor may recommend a structural engineer when the findings extend beyond the flooring assembly.
Too little room for movement
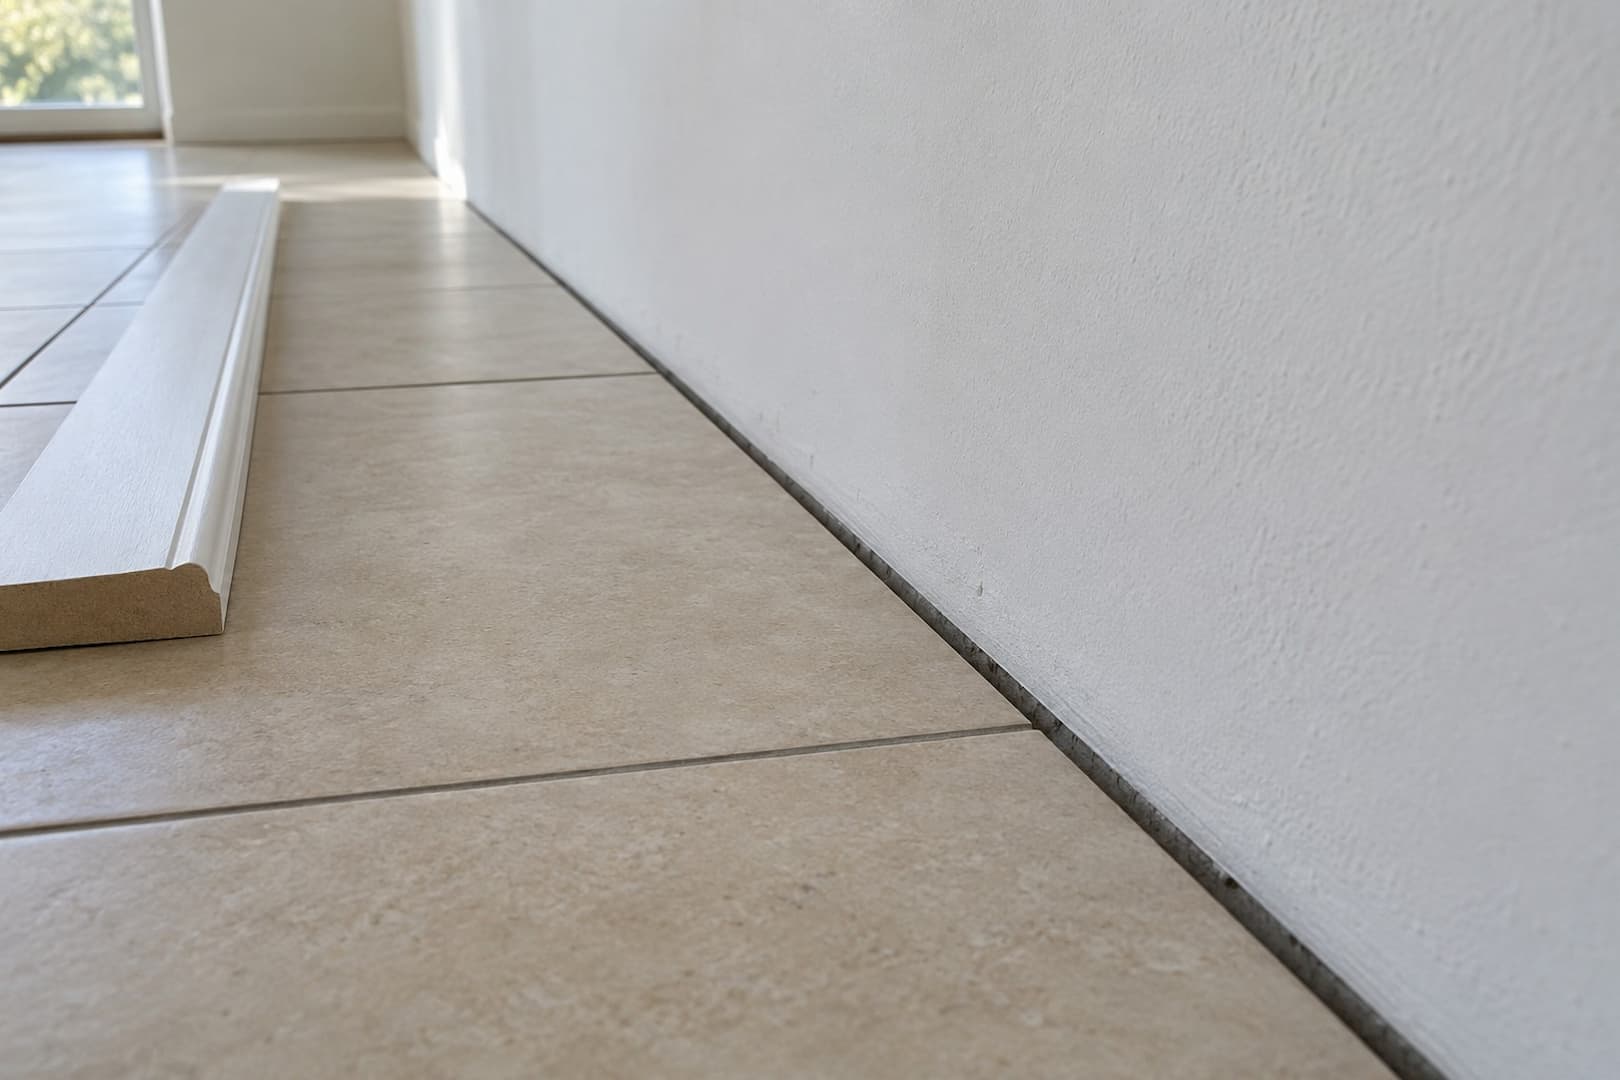
Tile, mortar, and the supporting floor respond differently to heat, moisture, and loading. Movement joints allow those changes without forcing the tiled surface against fixed boundaries. At walls, the space may sit beneath the baseboard. Larger layouts also need movement details within the tiled area, designed for the conditions of the room.
Grout or mortar packed tightly against a wall can prevent a perimeter joint from working. A rigid grout line cannot perform the same job as an appropriate flexible movement joint. Schluter’s movement-joint guidance addresses the floor field, doorsills, walls, and other restraining surfaces.
In a Florida home, tell the installer about direct sun through sliding doors, an enclosed lanai, or a room that stays unconditioned. Those are useful site conditions to evaluate. The TCNA notes that moisture and direct sunlight can require closer movement-joint spacing. There is no single spacing rule to copy into every room.
A flexible subfloor or unsuitable preparation
Over a wood subfloor, excessive bending can crack grout and eventually tile. The inspection may need to include the framing, panel condition, fastening, and underlayment. Adding another tile over the damaged area does nothing to strengthen a weak floor below it. A loose panel, water-damaged section, or unsuitable layer has to be addressed within the repair plan.
Flatness is another part of preparation. A floor with humps and depressions makes consistent support and an even tile surface harder to achieve. Read our guide to floor flatness before tile installation if the floor has noticeable dips or raised edges. The installer should check the selected tile system’s requirements before deciding whether local patching or broader floor leveling is needed. Leveling material does not repair an unstable structure.
Problems with bonding materials or curing
A sound substrate still needs compatible setting materials and careful installation. Surface contamination can interfere with the bond. Mortar that dries on the surface before the tile is placed may not adhere properly; disturbing a new installation too soon can also cause trouble. Product instructions specify mixing, working time, suitable substrates, and when the floor can receive grout or traffic.
If a recently installed floor begins cracking, save the invoice and product details and contact the installer before someone else alters the work. Record the dates of installation, grouting, and first use. These details are more useful than assuming that every new-floor problem comes from defective tile.
Does hollow-sounding tile mean the floor has failed?
A hollow sound can justify closer inspection, but sound alone cannot determine the condition of the entire floor. The TCNA’s hollow and loose tile FAQ explains that some assemblies sound hollow even when the tile remains bonded. The layers underneath influence the sound.
Does the tile move underfoot? Has the grout cracked again after a repair? Those observations help put the sound in context. Before agreeing to replace the whole floor based on a tapping demonstration, ask what else points to failure and whether opening a small area would settle the uncertainty.
Adhesive or epoxy injection has a limited place in some repairs. It cannot be assumed to correct the original cause, and it does not restore a broken tile face. Before agreeing to injection, ask what failed, why that method suits this assembly, and what happens if cracking returns.
Can you repair the damage without replacing the floor?
A localized repair is most promising when the cause is limited, the surrounding installation is sound, and replacement tile is available. A single impact-damaged tile is a straightforward example. The decision becomes less clear when a replacement has already cracked in the same place or damage continues beyond the visible area.
When only the grout needs attention
Grout can crack because of movement, but poor mixing or incomplete filling of the joint can also cause failure. If an inspection finds stable tiles and a grout-specific problem, removing the failed material and regrouting may be appropriate. Smearing a thin layer over old cracked grout is unlikely to give a lasting result. The repair needs sufficient joint depth and a grout suitable for the joint and location.
Recurring cracks deserve another look before another round of grout. If the same line opens again, document it and ask whether movement or support below the tile was fully evaluated. A stronger grout cannot compensate for every underlying defect.
When replacing individual tiles makes sense
Locate spare tiles before the repair visit. Compare their dimensions, thickness, surface finish, and shade with the installed floor in daylight. Even a tile sold under the same product name can look different from an older batch. Bring the original box or a photo of its label if you have one.
Discuss more than the price per tile. The scope should explain how the contractor will protect neighboring pieces, inspect the exposed base, correct any local defect, and restore the joints. If the room has a waterproofing or sound-control layer, the repair must account for it. Ask when you can walk on the area and move furniture back; those times depend on the materials used.
When the assembly needs a larger repair
A room or larger section may need rebuilding when damage is widespread, the substrate needs correction, or essential movement details cannot be restored with a small patch. The cost and disruption of repeated spot repairs also matter. If the next repair uses your last matching tile without resolving the cause, your options for the following repair become narrower.
A crack-isolation membrane can be part of a suitable replacement assembly. MAPEI’s crack-isolation overview explains how the membrane separates movement below from the tile above. Its use has limits: ordinary crack-isolation treatment is not a structural repair or a solution for vertical displacement. Movement joints remain necessary, and the chosen product’s instructions determine which cracks and joints it can treat.
Compare what each estimate includes beneath the tile: opening the floor, checking the base, fixing the defect, and rebuilding the affected layers. Ask the contractor to explain which findings support that scope. An estimate should also say how newly discovered damage will affect the work and price, so the decision does not wait until the room is already torn apart.
What to do before the inspection
- Take two kinds of photos. Photograph the crack close up, then show its position within the room. Include a ruler beside it without pressing on loose pieces.
- Record the history. Note leaks, dropped objects, appliance moves, recent construction, and previous tile or grout repairs.
- Keep damaged areas clear. Avoid walking on loose, sharp, or raised tiles. A tented section should be assessed promptly; do not push it back down.
- Gather the flooring information. Find spare tile, product labels, installation records, and any photos taken before the floor was covered.
- Agree on the next step. Clarify whether the initial visit covers a visual assessment, whether a tile may need removal, and who will address a suspected slab or framing problem.
SVR FLOORS offers floor repair in Largo and surrounding Tampa Bay communities, including assessment of cracked tile and related preparation needs. Send photos and a brief history of the problem to discuss a repair visit. If the findings support a larger replacement, our tile installation service can help you plan the new floor together with the preparation it requires.