
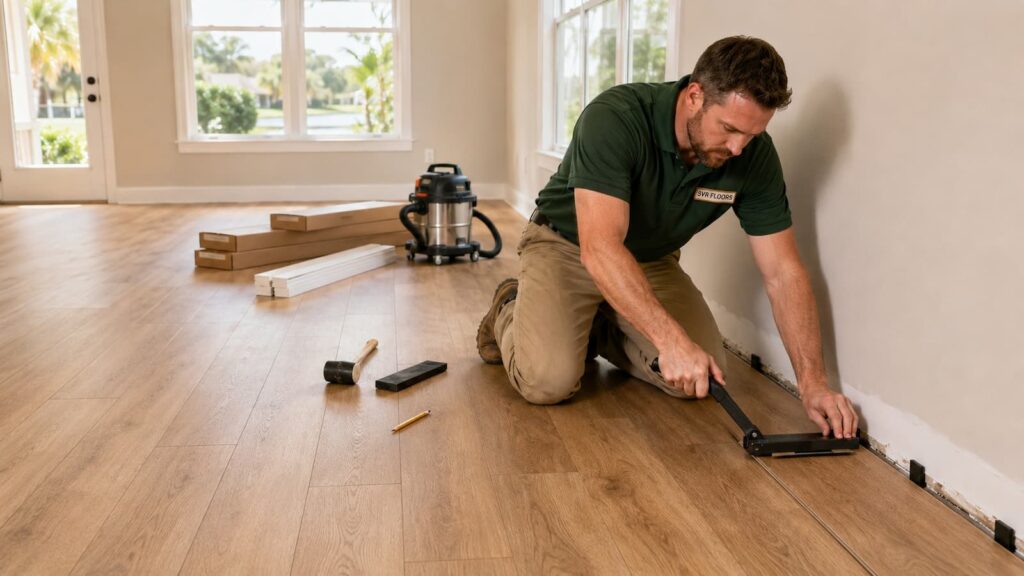
A flooring project can look fast from the doorway. Planks cover open space quickly, tile begins to change a room within a few rows, and a professional crew may make visible progress in the first hour. The part homeowners do not always see is everything that has to happen before the first finished piece goes down—and everything that must set, dry, or be completed afterward.
For a straightforward single room with a sound, ready subfloor, installation may take one working day. A multi-room LVP or laminate project commonly takes several days. Hardwood and tile usually require more time, while demolition, slab correction, subfloor repair, moisture concerns, detailed patterns, stairs, and occupied-home logistics can extend any material’s schedule.
The most useful answer separates three clocks: the installer’s active work time, the full on-site project time, and the wait before normal use. A tile crew may finish setting a floor on one day but return later to grout. A glue-down vinyl floor may look complete while its adhesive is still protected from traffic. Flooring cartons can also need time in the conditioned home before installation begins.
This guide provides realistic planning ranges for LVP, laminate, hardwood, and tile, then explains why two homes with the same square footage can have very different schedules. These are estimating ranges rather than promises. The exact product instructions, room layout, existing floor, substrate condition, crew size, and finish scope determine the real timeline.
The Short Answer: Most Flooring Projects Take 1 to 7+ Working Days on Site
A small, open room with a clean and flat surface may be completed in a day with click-lock LVP or laminate. Several connected rooms often need two to four installation days after preparation. Prefinished hardwood may take several days, and tile commonly stretches across multiple visits because setting, grouting, and curing are separate stages. Site-finished hardwood can occupy a home for a week or longer before final cure considerations are added.
| Flooring and Project Type | Typical Hands-On Installation Time After the Surface Is Ready | What Commonly Extends the Calendar |
|---|---|---|
| Click-lock LVP | About 1 day for a simple room; often 2–4 days for a multi-room or roughly 1,000-square-foot project | Removal, slab flatness, vapor-control details, many doorways, cabinets, and transitions |
| Glue-down LVP | About 1–2 days for a small area; often 3–5 days for a larger multi-room project | More exact surface smoothing, primer, adhesive working time, rolling, and traffic restrictions |
| Laminate | About 1 day for a simple room; often 2–4 days for several rooms or roughly 1,000 square feet | Product acclimation, underlayment, moisture planning, detailed cuts, and trim |
| Prefinished engineered hardwood | Often 2–5 days for several residential rooms | Conditioning, moisture checks, nail- or glue-down method, board selection, and adhesive restrictions |
| Prefinished solid hardwood | Often 3–7+ days depending on area and layout | Moisture-based acclimation, wood-subfloor prep, fastening, custom patterns, and stairs |
| Site-finished hardwood | Often 7–14+ on-site days for installation, sanding, staining, and finish coats | Drying between steps and additional time before rugs, heavy furniture, or full use |
| Porcelain or ceramic tile | Often 2–4 days for a small room; 5–10+ days for larger or connected areas | Layout, cuts, substrate prep, membranes, mortar set, grout, movement joints, and cure time |
Those ranges begin only after the material is available and the work area is ready to enter. They do not automatically include ordering lead time, building approval, extensive furniture handling, asbestos testing, water-damage correction, or drying an active moisture problem. They also assume ordinary straight layouts. Herringbone, borders, inlays, stairs, diagonal tile, and small mosaics move more slowly.
A one-day installation is therefore possible, but it is a condition—not a category. The floor must already be suitable, the material and trims must be on site, the room must be clear, and the finish details must be uncomplicated.
There Are Three Different Flooring Timelines
When a contractor says a project will take three days, ask what those three days include. One person may mean three days of laying material. Another may mean three days from demolition through cleanup. A homeowner may hear “three days” and assume the sofa can return on the third evening. All three interpretations can produce a different date.
1. Pre-installation calendar time. This starts before the crew arrives. It can include measuring, material selection, ordering, delivery, building paperwork, elevator reservations, and any product-specific acclimation or conditioning. Stock LVP with matching trims may be ready quickly. A special-order hardwood, uncommon stair nose, or backordered transition can add days or weeks without adding one hour of installation labor.
Acclimation is not a universal 48-hour rule. Some rigid-core products allow installation without acclimation under ordinary climate-controlled conditions. Other vinyl products call for time in the room after exposure to extreme temperatures. Laminate and wood products can have different requirements. The carton and current installation guide for the exact product settle the question.
2. Active on-site project time. This is what most people picture: moving remaining furniture, protecting the route through the home, removing the old surface, inspecting the slab or subfloor, making corrections, laying the new flooring, installing transitions and trim, cleaning, and completing the walkthrough. Depending on the scope, some phases overlap and others cannot.
A crew can continue working in one area while a separate prepared area is ready, but it cannot safely install over a patch that has not reached the condition required by its manufacturer. Tile cannot be grouted simply because the workday is ending. Adhesive cannot be covered or loaded before its open time and cure instructions allow it.
3. Return-to-use time. The last tool leaving the room does not always mean the floor is ready for every type of use. A floating click-lock floor may permit careful foot traffic as soon as installation and cleanup are complete. A glue-down system may need protection from traffic. Tile mortar and grout introduce their own wait periods. Site-applied wood finish has separate milestones for socks, normal shoes, furniture, rugs, and full cure.
Heavy appliances, rolling loads, area rugs, damp cleaning, and dragging furniture deserve their own answers. “Can I walk through the room?” and “Can I roll a loaded refrigerator across it?” are not the same question.
A Realistic Flooring Installation Timeline, Step by Step
The visible flooring is only one line in the schedule. A complete residential project usually moves through the following sequence, although a clean slab and an uncomplicated floating floor may compress several steps into the same day.
| Project Phase | Common Planning Range | What Happens |
|---|---|---|
| Site measure and scope | One visit | Rooms, waste, transitions, access, existing flooring, prep risk, and finish details are reviewed |
| Material and trim readiness | Same day to several weeks | Flooring, underlayment, adhesive, transitions, stair parts, and matching trim are confirmed |
| Conditioning or acclimation | None to several days or moisture-based readiness | Material and jobsite conditions are brought within the exact product requirements |
| Room and access preparation | A few hours to 1+ day | Furniture, appliances, doors, wall base, work routes, and dust protection are handled |
| Existing floor removal | A few hours to several days | Carpet, floating floor, glue-down material, hardwood, tile, adhesive, or thinset is removed as scoped |
| Substrate inspection and correction | A few hours to several days | Flatness, moisture signs, cracks, soft areas, contamination, and transitions are checked and corrected |
| New flooring installation | 1–10+ days | The selected material is laid, fastened, bonded, or set according to its system |
| Trim, transitions, cleanup, walkthrough | Several hours to 1+ day | Baseboards or shoe molding, doorway pieces, final cuts, cleaning, and review are completed |
| Cure and normal-use window | Immediate light use to several days or longer | Traffic, furniture, rolling loads, cleaning, and rugs follow the product and setting-material directions |
Removal and substrate work contain the most uncertainty. Carpet may lift cleanly from a sound slab in the morning. Old tile may leave dense thinset ridges that require grinding. A floating floor can hide a broad low area, loose patch, or old moisture staining until it comes out. That is why a responsible estimate often distinguishes known preparation from conditions that can only be confirmed after demolition.
Square Footage Helps, but Layout Often Controls the Pace
A thousand square feet of open rectangular space is not the same job as a thousand square feet divided among bedrooms, closets, a narrow hallway, kitchen, pantry, and several doorways. Open area creates long production runs. Small rooms create repeated setup, measuring, cutting, undercutting, alignment, and transition work.
Consider a 500-square-foot great room and a 500-square-foot group of three bedrooms with closets. The material quantity is similar. The second project may include six door jambs, closet returns, several starting lines, furniture moved in phases, and a hallway that has to connect cleanly to every room. The cutting time can outweigh the smaller footprint.
These features commonly slow installation:
- Many doorways, closets, alcoves, columns, or angled walls
- Kitchen islands, cabinet toe kicks, floor registers, and appliance openings
- Stairs, landings, nosings, and open edges
- Long hallways that must align with several rooms
- Multiple flooring heights and custom transitions
- Patterned layouts such as herringbone, chevron, borders, or diagonal tile
- Small tile, mosaics, narrow grout joints, or many detailed cuts
- Occupied rooms that must be emptied and restored one at a time
- Limited parking, long material-carry routes, elevators, or restricted work hours
Crew size changes production, but not in a perfectly linear way. Four installers do not always finish twice as fast as two. Some rooms cannot hold several people safely, and layout, adhesive working time, saw access, and finish work still happen in sequence. An experienced crew gains time by organizing the work, not by crowding the room.
Floor Removal Can Take Hours—or Become Its Own Project
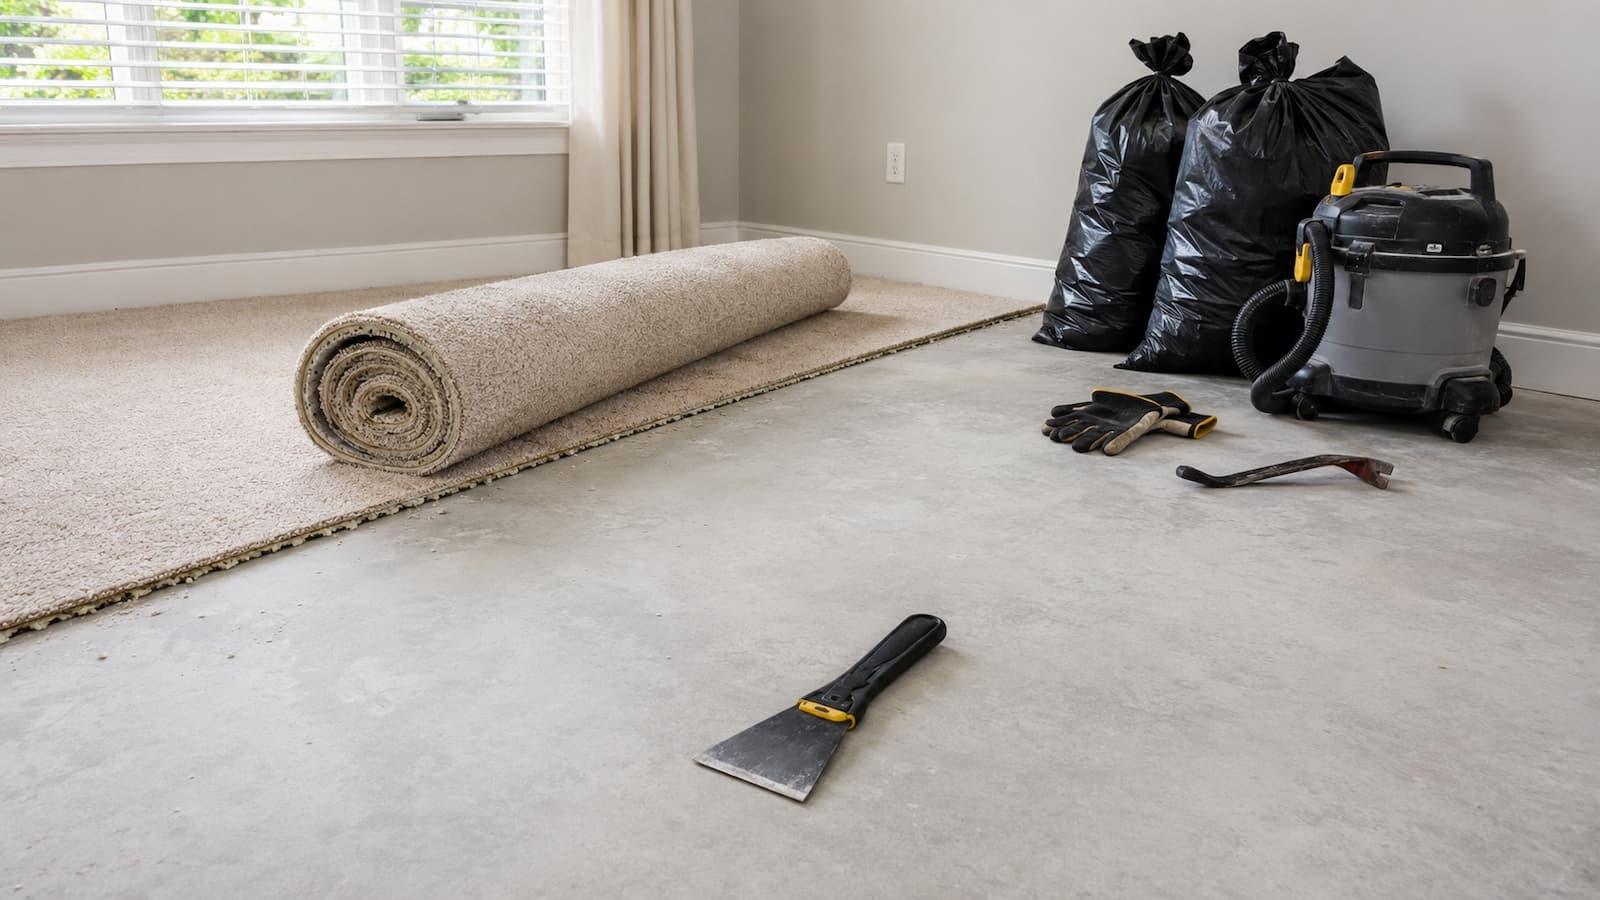
Existing flooring determines how quickly the substrate becomes visible. Carpet and pad are often the fastest materials to remove, provided the tack strips, staples, adhesive, and perimeter conditions are straightforward. A loose-laid or floating floor may also come apart efficiently, though built-ins and disposal volume still affect the day.
Glue-down vinyl can be slower because the surface must be scraped or mechanically prepared until the remaining adhesive is suitable for the new system. Hardwood removal varies with fastening method. Tile is usually the most disruptive: breaking the tile is only part of the work. Mortar ridges left on the slab may need grinding or removal before flatness can even be evaluated.
A demolition schedule should account for:
- The material being removed and how firmly it is bonded
- How many existing flooring layers are present
- Whether baseboards are reused, replaced, or left for shoe molding
- Dust control and protection for occupied parts of the home
- Debris handling, elevator use, parking, and disposal access
- Old adhesive, paint, sealer, or thinset left on the surface
- Possible asbestos-containing resilient flooring or adhesive that must be tested before disturbance
Removing the old floor yourself does not automatically shorten the professional schedule. If adhesive is left in thick patches, tack-strip nails damage the slab edge, or the material is cut around built-ins instead of removed cleanly, the crew may spend the saved time correcting the removal. Any homeowner-prepared scope should be agreed on in advance.
Subfloor Preparation Is the Biggest Schedule Variable
Once the old flooring is gone, the project stops being theoretical. The slab or wood subfloor can finally be checked across the full work area. A clean, dry, stable, flat surface lets installation proceed. Broad dips, high spots, soft sections, cracked patches, moisture evidence, or old residue create another scope before the finish floor can begin.
Floor prep may take an hour for vacuuming and a few small corrections. It may take several days when concrete needs grinding, multiple low areas need patching, a smoothing layer has to cure, or damaged wood panels must be opened and replaced. Preparation material also has its own installation temperature, thickness, priming, drying, and moisture requirements.
A floor does not need to be perfectly level in every project, but it does need to meet the flatness and support requirements of the selected material. Floating plank can flex over low areas. Glue-down LVP can telegraph ridges and surface texture. Large-format tile makes lippage and mortar coverage harder to control. Hardwood needs the correct substrate and moisture relationship for its installation method.
If a long straightedge rocks on a high spot or reveals a broad gap, covering the condition to save a day usually borrows trouble from the future. SVR Floors’ guide to how flat a floor needs to be before installing LVP, laminate, or tile explains why each material reacts differently.
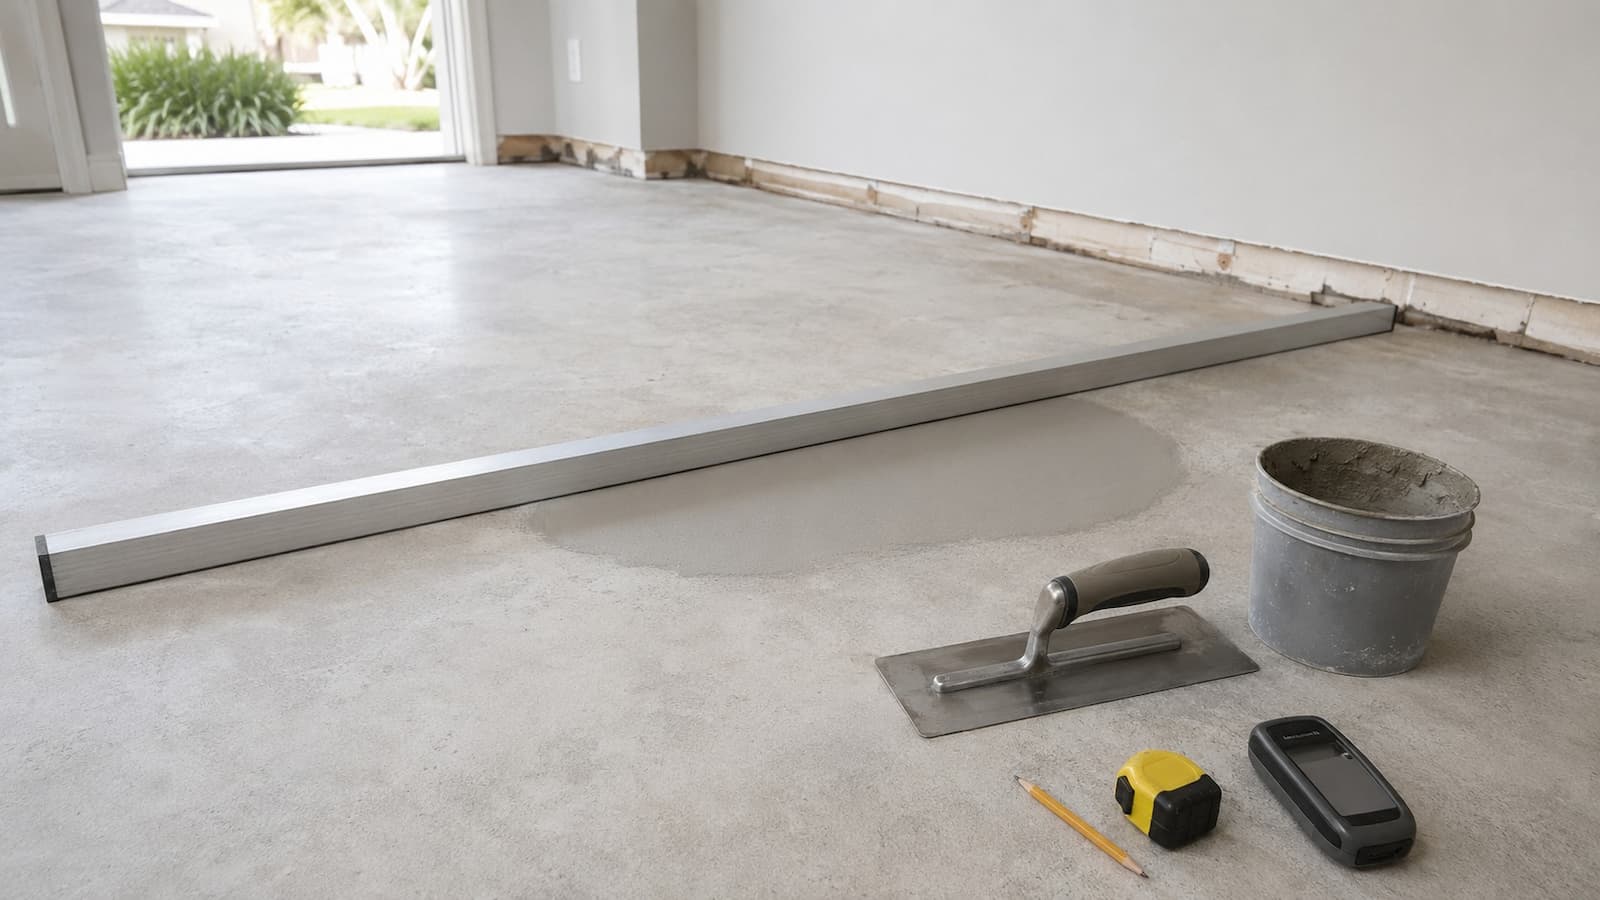
When the issue is limited to surface variation, professional floor leveling and concrete preparation may keep the project moving without replacing the entire base. Soft, swollen, delaminated, or structurally weak areas need a different answer. Those conditions may require subfloor repair before any leveling or new flooring is appropriate.
Water damage changes the order again. The leak or source must be corrected, affected materials removed, and the assembly dried and evaluated. A fast flooring schedule is not useful if it seals uncertainty below the surface. Projects involving water-damaged floor replacement should allow for investigation instead of assuming that visible material removal is the entire repair.
How Long Does LVP Installation Take?
Click-lock luxury vinyl plank is among the faster hard-surface floors to install once the substrate is ready. A simple bedroom may fit into one day. Several connected rooms or about 1,000 square feet commonly need two to four working days for layout, cuts, rows, door jambs, transitions, trim, and cleanup. A large open plan may move faster; a smaller chopped-up layout may move slower.
The installation method changes the schedule. Floating LVP connects into one floor field without full-spread adhesive. Glue-down LVP adds adhesive application, working time, rolling, closer surface preparation, and traffic restrictions. Thin glue-down material also shows more of what lies beneath it, so smoothing can take longer than the plank placement itself.
Product conditioning is another variable. Some rigid-core LVP lines state that acclimation is unnecessary when the material and room remain within specified conditions. Other products require a waiting period after storage in extreme heat or cold. Florida delivery does not eliminate this question; cartons can spend time in a hot truck, garage, or unconditioned space before reaching the room.
For floating LVP, careful foot traffic is often possible when the installation and cleanup are complete, subject to the selected guide. For glue-down material, the adhesive instructions control when the floor can take foot traffic, furniture, appliances, rolling loads, or cleaning. Some systems protect the surface for at least a day; others specify longer restrictions.
Common LVP schedule additions include:
- Tile removal and thinset grinding before installation
- Concrete low spots, high ridges, or old adhesive
- A product-required vapor-control layer over a concrete slab
- Kitchen appliances, islands, and cabinet toe-kick cuts
- Long continuous layouts through doorways and hallways
- Stair noses, reducers, T-moldings, and custom transition heights
- Glue-down adhesive setup, rolling, and protected cure time
If you are comparing methods, the guide to floating versus glue-down vinyl plank flooring explains why the faster-looking option is not automatically the right one. The final schedule for professional vinyl plank installation in Largo should include the slab, moisture plan, layout, and transitions rather than plank placement alone.
How Long Does Laminate Flooring Installation Take?
Laminate is usually installed as a floating click-lock floor, so its production pace can resemble rigid-core LVP. A straightforward room may take one day. A larger multi-room project often takes two to four installation days after the surface and material are ready. Underlayment, door cuts, room connections, transitions, and baseboard work remain part of that time.
Acclimation can add calendar time before the first row. One major laminate manufacturer, for example, directs that its packaged flooring rest in the room for at least 48 hours. That number should not be copied onto every laminate product, but it demonstrates why the flooring line needs to be selected before the schedule is finalized.
Laminate’s wood-based core also puts more emphasis on dry conditions and approved underlayment or vapor-control details. A floating floor does not hide a wavy slab. If the finished laminate bridges a low area, movement underfoot can stress the click system and create noise. Time spent correcting the surface protects the work that follows.
Bedrooms and open living rooms usually install faster than kitchens, closets, and narrow hallways. Water-resistant laminate may be suitable for some kitchens or other interior areas, but the product’s room-use and perimeter-sealing instructions can add detailed work. Professional laminate flooring installation should be scheduled around those details rather than treated as interchangeable with LVP.
How Long Does Hardwood Flooring Installation Take?
Hardwood has the widest range because “hardwood installation” can describe several different systems. Prefinished engineered wood, prefinished solid wood, unfinished solid wood, nail-down, glue-down, floating, straight lay, herringbone, and site finishing do not share one timeline.
Prefinished engineered hardwood. Several residential rooms may take roughly two to five installation days after the substrate and product are ready. Floating engineered wood can move efficiently in a simple layout. Glue-down installation adds adhesive application and return-to-use restrictions. Nail-down or staple-down work depends on a suitable wood subfloor and includes fastener layout, board selection, and detailed cuts.
Prefinished solid hardwood. A typical multi-room project may take three to seven days or longer. Board widths and lengths, sorting, fastening pattern, subfloor preparation, borders, flush vents, transitions, and stairs can all alter the pace. Solid wood also needs jobsite conditioning and moisture evaluation appropriate to the species, width, subfloor, and regional conditions.
Site-finished hardwood. Unfinished wood adds sanding, filling, optional stain, sealer, and multiple finish coats after installation. A residential project can occupy seven to fourteen on-site days or more, then continue through staged return-to-use restrictions. Temperature, humidity, finish chemistry, coat count, and stain choice influence drying and cure.
Hardwood acclimation is better understood as conditioning toward appropriate moisture relationships than as blindly waiting a fixed number of days. Cartons can sit in a room without becoming ready if the building is not at normal living conditions or the subfloor moisture remains unsuitable. Conversely, an engineered product may have specific instructions that differ from a traditional solid plank.
In Florida homes, slab conditions and indoor climate often shape whether engineered or solid hardwood is practical and which installation method is used. A schedule for hardwood flooring installation in Largo should identify the exact product, substrate, moisture checks, fastening or adhesive method, and whether the surface arrives factory-finished.
How Long Does Tile Flooring Installation Take?
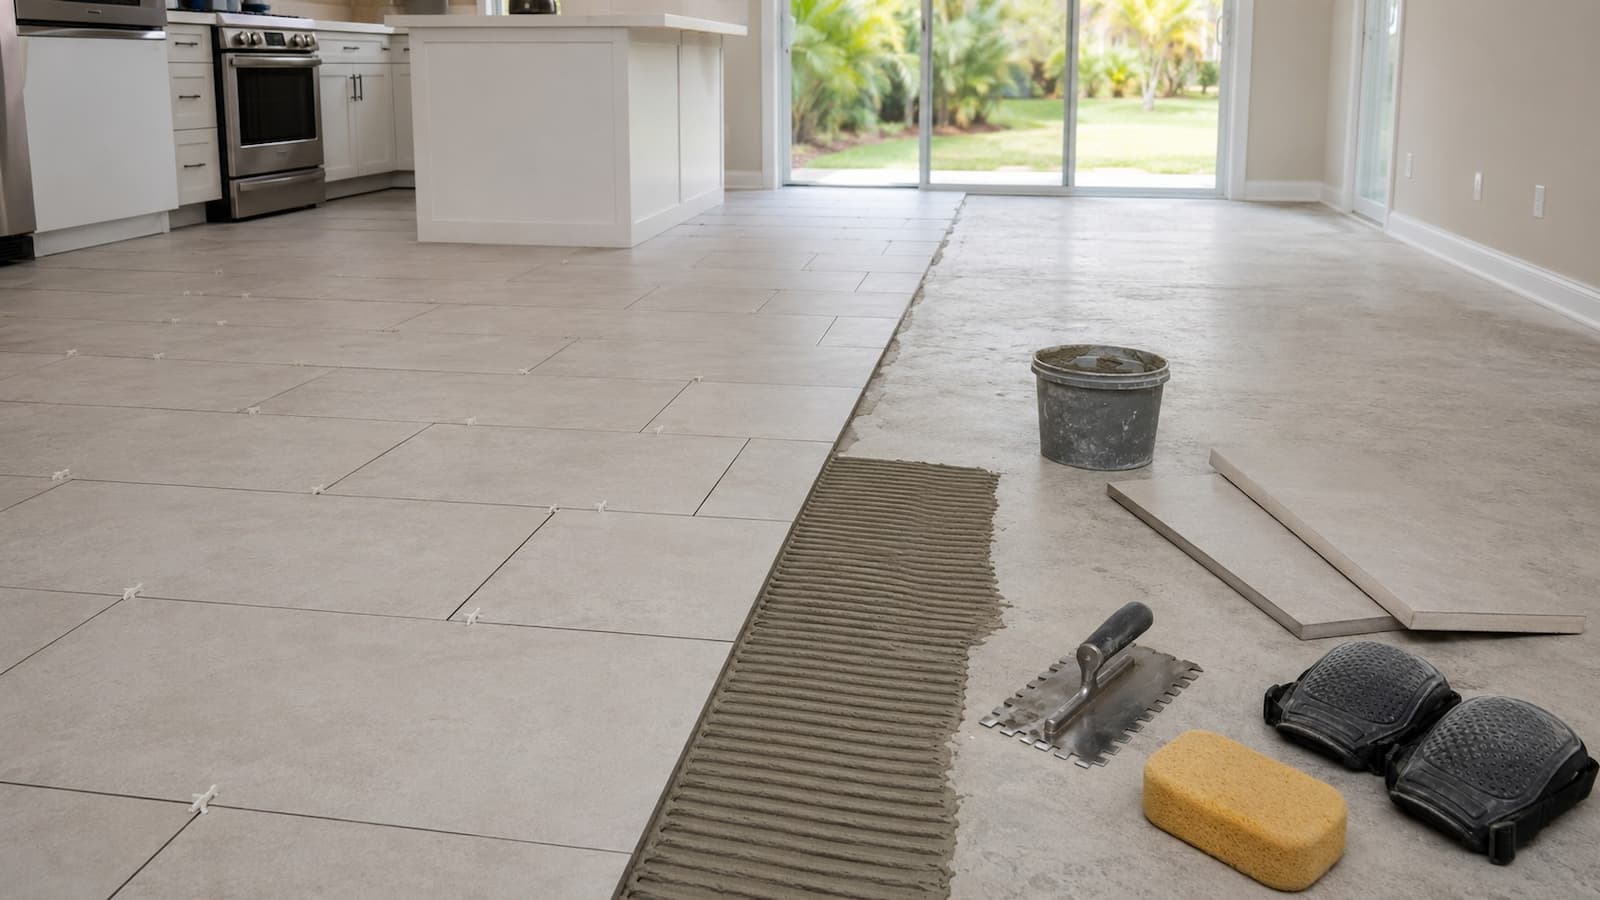
Tile normally has the longest calendar time among common factory-finished residential floors because layout, setting, grouting, and curing do not collapse into one operation. A small uncomplicated floor may take two to four days. A larger connected area often needs five to ten days or more, especially when substrate correction, crack isolation, large-format tile, intricate cuts, or movement-joint details are involved.
The first day may be mostly preparation and layout. Balanced cuts at opposing walls, centered lines, doorway alignment, cabinet edges, and transitions have to be resolved before mortar is spread. Tile that begins slightly off line will not correct itself across the room.
Setting speed depends on tile size, pattern, mortar, room geometry, and how much area can be completed without walking across fresh work. Large-format tile may cover square footage quickly, but it places greater demands on flatness, mortar coverage, handling, and lippage control. Small mosaics cover less area per sheet and require careful alignment. Diagonal layouts and herringbone multiply cuts.
Standard tile systems commonly separate setting and grouting into different days. A manufacturer may allow grouting after about 24 hours for a conventional installation, while a rapid-setting mortar may permit it within several hours. Grout products also vary widely in light-traffic and full-service times. Mixing a rapid mortar with a standard grout does not make the entire floor a rapid-return system.
Bathrooms can take longer than their square footage suggests. A small room still has a toilet flange, doorway, vanity, tub or shower edge, perimeter cuts, and moisture-sensitive details. A true shower or wet-area assembly includes waterproofing, slopes, drains, walls, penetrations, and flood-testing requirements beyond an ordinary floor replacement.
For an interior floor, experienced tile installation should build cure periods into the schedule instead of treating them as an inconvenience after the work is booked. A fast-setting product can be useful when the substrate, tile, grout, temperature, and crew plan are all compatible. It is not a reason to rush a standard system.
How Long Does It Take to Install 1,000 Square Feet of Flooring?
One thousand square feet is large enough for production to matter and small enough that layout can still dominate. On a clean, flat, open slab, a professional crew may install click-lock plank quickly. Divide the same area among six rooms and add tile removal, two slab patches, furniture staging, and eight transitions, and the calendar changes completely.
| About 1,000 Square Feet | Planning Range After the Substrate Is Ready | More Realistic Total When Removal and Ordinary Prep Are Included |
|---|---|---|
| Click-lock LVP | Often 2–4 working days | Often 3–7+ days |
| Glue-down LVP | Often 3–5 working days | Often 4–8+ days, plus adhesive restrictions |
| Laminate | Often 2–4 working days | Often 3–7+ days, plus any required acclimation |
| Prefinished engineered hardwood | Often 3–6 working days | Often 4–10+ days, depending on method and conditioning |
| Prefinished solid hardwood | Often 4–7+ working days | Often 5–12+ days, depending on conditioning and substrate |
| Porcelain or ceramic tile | Often 5–10+ working days | Often 7–14+ days including prep, grout, and return-to-use windows |
The third column is still not a quote. Clean carpet removal is different from bonded tile removal. A few feathered patches are different from broad slab leveling. Prefinished hardwood is different from a floor that will be sanded and coated on site. Crew size, access, and the number of rooms also remain unknown.
A useful estimate for 1,000 square feet should describe production assumptions in plain language: what is being removed, how furniture is handled, whether the base stays, what surface preparation is included, how transitions are finished, and what happens if hidden conditions appear.
Sample Project Timelines
Examples make the interaction among material, removal, and preparation easier to see. The following are planning scenarios, not production commitments for a particular home.
| Example Project | Possible Sequence | Planning Range |
|---|---|---|
| 250-square-foot bedroom, carpet to click-lock LVP, slab ready | Furniture cleared before arrival; carpet and pad removed; slab cleaned; LVP, trim, and cleanup completed | Often 1 day, or 2 if local correction or finish work is needed |
| 700-square-foot living area and hallway, floating floor to laminate | Old floor removed; underlayment and layout installed through several doors; base and transitions finished | Often 2–4 on-site days after required conditioning |
| 1,000-square-foot open area, tile removed for LVP | Tile demolition; thinset removal; slab check and correction; LVP; transitions and cleanup | Often 5–9+ on-site days |
| 180-square-foot bathroom, old tile to new porcelain tile | Removal; substrate and flange review; prep; tile layout and setting; grout; cure and trim | Often 3–6+ days for a floor-only scope |
| 900-square-foot prefinished engineered hardwood over a prepared slab | Jobsite and product conditioning; moisture checks; glue-down installation; rolling; protected cure; trim | Often 4–8+ calendar days after material delivery |
| Whole-home project completed in occupied phases | Furniture and belongings shift between zones; rooms remain accessible in stages; thresholds connect each phase | Often several days longer than the same empty home |
The fastest scenario is not necessarily the smallest. A clean 700-square-foot open space may progress more smoothly than a 250-square-foot bathroom filled with cuts, fixtures, old mortar, and cure requirements.
An Empty Home Installs Faster Than an Occupied One
Furniture affects more than the first hour. In an empty property, the crew can establish long work zones, stage cartons where they are needed, and move continuously through doorways. In an occupied home, furniture may be shifted to one side, moved into a finished room, then moved again so the next area can open. That sequence reduces production space and can add entire days.
Large items deserve a plan before installation day. Refrigerators, ranges, laundry equipment, adjustable beds, aquariums, pianos, safes, pool tables, built-in cabinets, and electronics do not belong in a generic “furniture included” assumption. Some require another trade, disconnection, special equipment, or a separate move.
Daily life can also limit the work zone. A family may need one bedroom returned each evening. Pets must stay away from open doors, adhesives, tools, and fresh flooring. Kitchen access may be restricted while appliances are out. Dust-control barriers and protected walk paths take time to install and maintain, but they make the rest of the house more livable.
Condominiums add a different set of constraints: certificate-of-insurance review, approved sound-control assemblies, elevator reservations, loading access, service-entry rules, work-hour limits, debris routes, and daily cleanup. A crew may have six productive hours inside a building even though the day around that window is much longer. The schedule should reflect the building, not just the unit’s square footage.
Florida Slabs and Indoor Climate Can Change the Schedule
Many Largo and Tampa Bay homes place finished flooring over concrete slabs. A slab can look dry and still require the moisture planning specified by the flooring system. Old adhesive, efflorescence, recurring dampness near a sliding door, a plumbing leak, or staining under the previous floor deserves investigation before new material covers it.
Moisture testing is not always a five-minute yes-or-no step. The appropriate method depends on the flooring and adhesive. Some tests require preparation or a set duration. If results exceed the product limits, the project may need a compatible mitigation or vapor-control plan, a different flooring choice, or correction of an active water source.
Indoor temperature and humidity also matter. The home’s air-conditioning should normally be operating at lived-in conditions before, during, and after installation as the selected product requires. Flooring stored in a garage or vehicle can be much hotter than the room. Turning the HVAC off during a summer renovation can move the jobsite outside the installation range of flooring, patch, mortar, grout, adhesive, or finish.
Attached pad does not automatically answer every slab moisture question. The selected product may require a separate vapor-control layer or may prohibit an added soft underlayment. SVR Floors’ article on moisture barriers under vinyl plank flooring on concrete explains why the installation guide has to control that detail.
When Can You Walk on the Floor or Move Furniture Back?
Return-to-use instructions belong in the schedule before installation starts. Otherwise, a floor can be technically complete while the household has nowhere safe to place furniture or appliances. Exact instructions come from the flooring, adhesive, mortar, grout, patch, and finish products used on the job.
| Flooring System | Light Foot Traffic | Furniture, Appliances, Rugs, and Cleaning |
|---|---|---|
| Floating click-lock LVP | Often after installation and cleanup when the product guide permits | Lift rather than drag; use protectors; verify instructions for heavy rolling loads and wet cleaning |
| Glue-down LVP | Controlled by the adhesive; protection for at least 24 hours is common in some systems | Heavy traffic or rolling loads may require a longer wait, sometimes 48–72 hours |
| Laminate | Often after installation is complete when the product permits | Protect joints and edges; follow instructions for furniture, appliances, and first cleaning |
| Nail-down prefinished hardwood | Often after installation and cleanup | Use floor protectors and lift furniture; site conditions and any touch-up finish still matter |
| Glue-down engineered hardwood | Controlled by the adhesive system | Rolling and heavy loads may need additional protection while the bond develops |
| Site-finished hardwood | Controlled by the finish; staged access commonly begins after a specified drying period | Furniture, rugs, pets, and cleaning may each have a later milestone before full cure |
| Tile | Controlled by mortar and grout; rapid products may allow access in hours, standard systems often need longer | Heavy use, wet cleaning, sealing, or water exposure follows the complete tile-system instructions |
Move-back technique is as important as timing. Furniture should be lifted or carried, not dragged. Wide protectors distribute heavy leg loads. Appliances should travel over suitable protective panels when required rather than rolling directly across a fresh joint, adhesive bed, grout line, or soft underlayment.
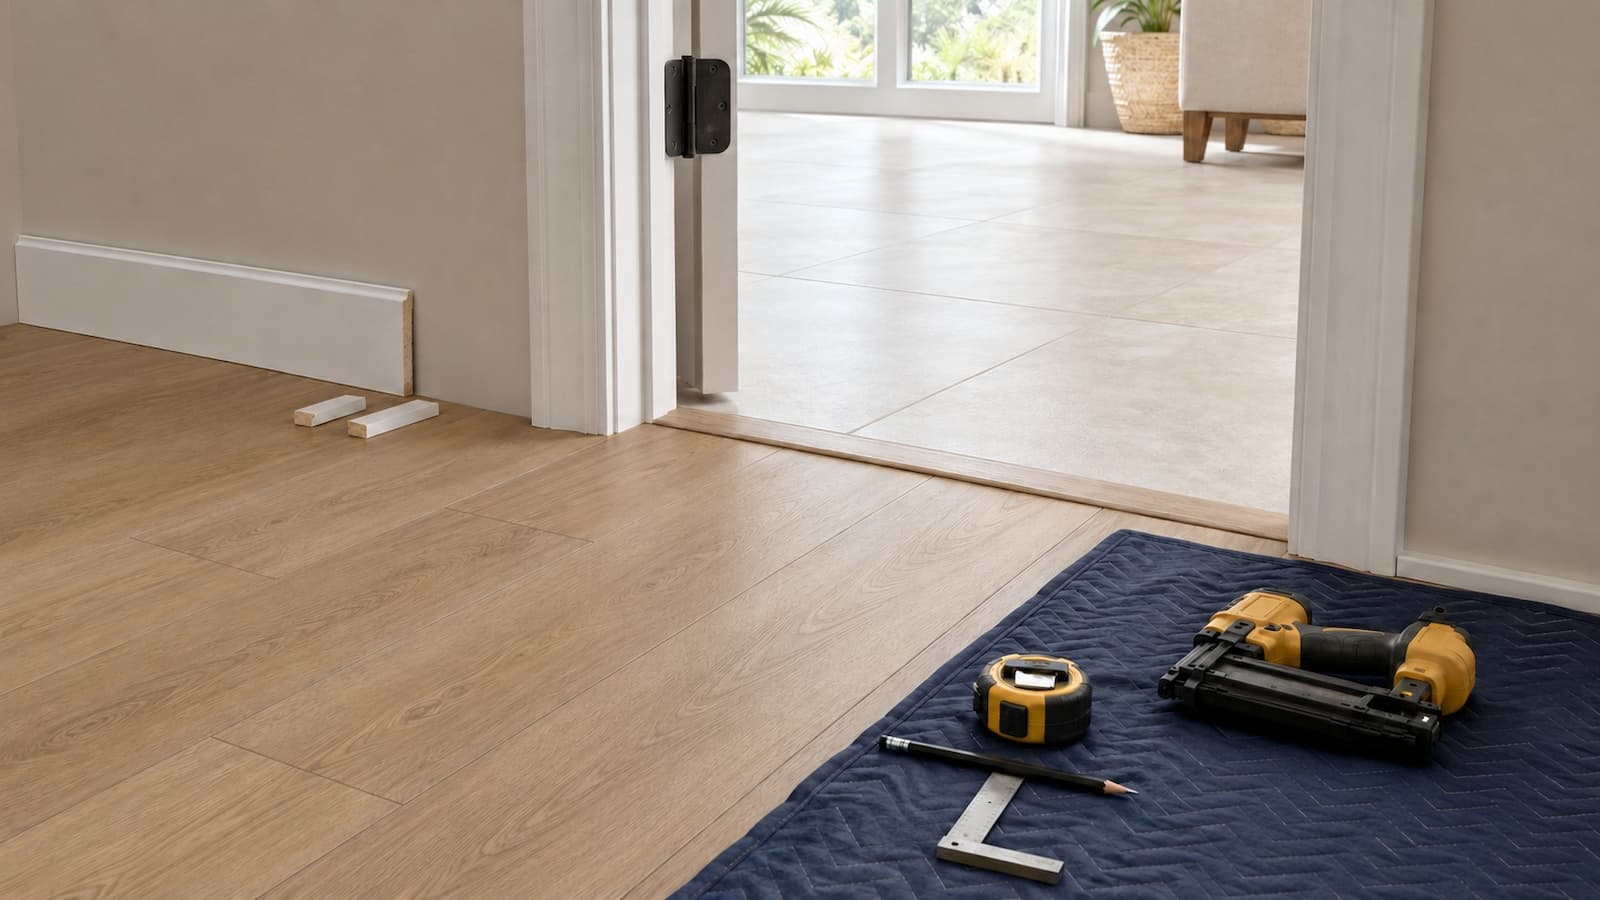
Area rugs can be a surprisingly late item on site-finished wood because finish manufacturers may require substantial cure before covering the surface. Wet cleaning can also interfere with fresh adhesive, grout, or finish. Ask for milestones in writing instead of relying on the phrase “dry to the touch.”
How to Shorten the Project Without Rushing the Installation
The safest time savings happen before installation day. They remove waiting, confusion, and repeated handling without removing preparation or cure time.
- Finalize the exact product early. Installation method, acclimation, underlayment, moisture limits, and return-to-use rules cannot be confirmed from a generic sample.
- Order every transition and stair part with the flooring. A missing reducer can delay completion even when the main floor is finished.
- Clarify who moves each item. Separate ordinary furniture from appliances, specialty items, electronics, and built-ins.
- Keep the home conditioned. Do not store material in a hot garage or turn off the HVAC unless the product instructions specifically allow those conditions.
- Resolve leaks before the flooring crew arrives. Installation day is too late to begin diagnosing recurring water.
- Arrange building access in advance. Elevator time, loading zones, work-hour limits, insurance paperwork, and acoustic approvals can stop a condo project before a box is opened.
- Provide a clear work and cutting area. Safe access reduces repeated setup and protects the occupied home.
- Confirm trim decisions before demolition. Reusing baseboards, replacing them, or adding shoe molding changes removal and finish work.
- Plan for children and pets. Keeping the active zone clear protects them and prevents repeated shutdowns.
Rapid-setting patch, mortar, or grout can compress a schedule when the entire system and site conditions support it. It should be selected during planning, not substituted casually because the project is behind. Faster chemistry often brings a shorter working window, so the crew and layout must be ready before mixing begins.
The wrong shortcuts usually reappear as callbacks: laying over loose material, ignoring flatness, adding unapproved underlayment, walking on adhesive too soon, grouting before mortar is ready, or reinstalling heavy appliances without protection. Saving half a day is a poor trade for opening the floor again.
Questions to Ask Before You Approve the Schedule
A useful project schedule explains assumptions instead of offering one unexplained completion date. Before work is booked, ask:
- Does the stated duration include removal and disposal?
- Who moves furniture and appliances, and how many times will they move?
- What preparation is included before additional charges apply?
- When can the slab or subfloor be inspected fully?
- What happens if old adhesive, thinset, moisture evidence, or soft subfloor is found?
- Does the exact flooring require acclimation or jobsite conditioning?
- Are floor patch, primer, mortar, grout, adhesive, or finish cure periods included?
- Will the crew work continuously, or are return visits planned?
- Are baseboards, shoe molding, doors, transitions, and stair parts included?
- When can people walk through each area?
- When can furniture, appliances, rolling loads, rugs, and wet cleaning return?
- Will part of the home remain usable during the project?
- Are condo approvals, elevator reservations, or restricted hours part of the plan?
- How will a schedule change be communicated if hidden conditions appear?
A precise contractor may give a range rather than a single number before demolition. That is not necessarily uncertainty about the work. It can be an honest distinction between what is visible now and what the old flooring still conceals.
Frequently Asked Questions About Flooring Installation Time
Can flooring be installed in one day?
Yes, for some small and straightforward projects. A clear bedroom with a ready surface and click-lock LVP or laminate may fit into one day, including modest removal and finish work. Tile, hardwood, glue-down flooring, many-room layouts, or meaningful surface preparation usually require longer.
How long does it take to install flooring in one room?
A simple bedroom may take about one day for floating LVP or laminate after required conditioning. Engineered hardwood may take one to two or more days depending on method. A small tile floor commonly takes two to four days because setting, grouting, and cure are separate stages. Removal and repairs add time to each range.
How long does it take to replace flooring throughout a house?
A whole-home plank project commonly takes several working days and may extend beyond a week when removal, leveling, furniture phasing, many doorways, or trim replacement are included. Whole-home tile or site-finished hardwood can take considerably longer. An empty home is usually faster than an occupied one.
How long does it take to install 1,000 square feet of LVP?
Click-lock LVP over a ready substrate often takes about two to four working days for a professional residential crew. A very open layout may move faster. Tile demolition, slab corrections, multiple rooms, detailed cuts, stairs, glue-down installation, or occupied-home staging can extend the total to a week or more.
Does old flooring removal happen on the same day as installation?
Sometimes. Clean carpet or a small floating floor may be removed early enough for inspection and installation to begin the same day. Bonded tile, glue-down flooring, hardwood, thick adhesive, thinset, or hidden repairs often make removal a separate phase.
Does floor leveling add a full day?
It can add a few hours, one day, or several days. The answer depends on the size and depth of the corrections, surface preparation, primer, product, temperature, humidity, and when the flooring may cover the cured material. Grinding a small high spot is different from smoothing several connected rooms.
Can I stay in my home during flooring installation?
Often, yes, when the work can be phased and a safe route remains. Expect noise, dust-control barriers, furniture movement, and temporary loss of access to active rooms. Adhesives, coatings, or site-finished hardwood may create ventilation and occupancy restrictions that need to be discussed before work begins.
When can I walk on newly installed flooring?
Floating LVP and laminate often allow careful traffic after installation is complete, but the product guide controls. Glue-down LVP, glue-down hardwood, tile, and site-applied wood finish need system-specific drying or cure time. Light walking never automatically means rolling appliances or replacing heavy furniture.
Why does tile installation take longer?
Tile combines precision layout with setting materials that need time. The substrate may require closer correction, every piece is aligned in mortar, cuts can be slow, and the floor normally cannot be grouted immediately. Grout then has its own traffic and service instructions.
Does professional installation always finish faster than DIY?
A professional crew is usually faster because layout, cutting, staging, and problem-solving are familiar, and several tasks can be coordinated. The advantage is larger in multi-room work, glue-down floors, hardwood, and tile. Cure time does not disappear, however, and professionals should not skip substrate correction to create an impressive production number.
Can humid or rainy Florida weather delay indoor flooring?
It can affect delivery, jobsite humidity, drying, and products stored in unconditioned spaces. Indoor temperature and humidity should remain within the flooring and installation-material requirements. Active slab moisture or a leak is a separate issue and should not be blamed on ordinary outdoor humidity without investigation.
How long does condo flooring installation take?
The installation itself may be similar to a house of the same size, but restricted work hours, elevators, loading access, acoustic underlayment approval, inspections, and daily cleanup can add calendar days. Building requirements should be confirmed before material delivery and scheduling.
A Reliable Schedule Starts Below the Flooring
For planning purposes, allow about one day for a simple floating-floor room, several days for a multi-room LVP or laminate project, several days to more than a week for hardwood, and multiple installation and cure stages for tile. Then add the conditions that are unique to the home: removal, layout, furniture, access, slab or subfloor work, moisture, trim, and return-to-use requirements.
The fastest part of many projects is laying material across open space. Doorways, edges, transitions, preparation, and cure are where the schedule becomes honest. A contractor who explains those phases is giving you more useful information than someone who quotes a production rate without asking what is under the old floor.
If you are planning new flooring in Largo or a nearby Tampa Bay community, an experienced flooring contractor can review the rooms, existing material, slab or subfloor, furniture, transitions, and selected flooring before setting a realistic timeline. The goal is not simply to finish quickly. It is to know which time protects the installation and which time can genuinely be saved.