
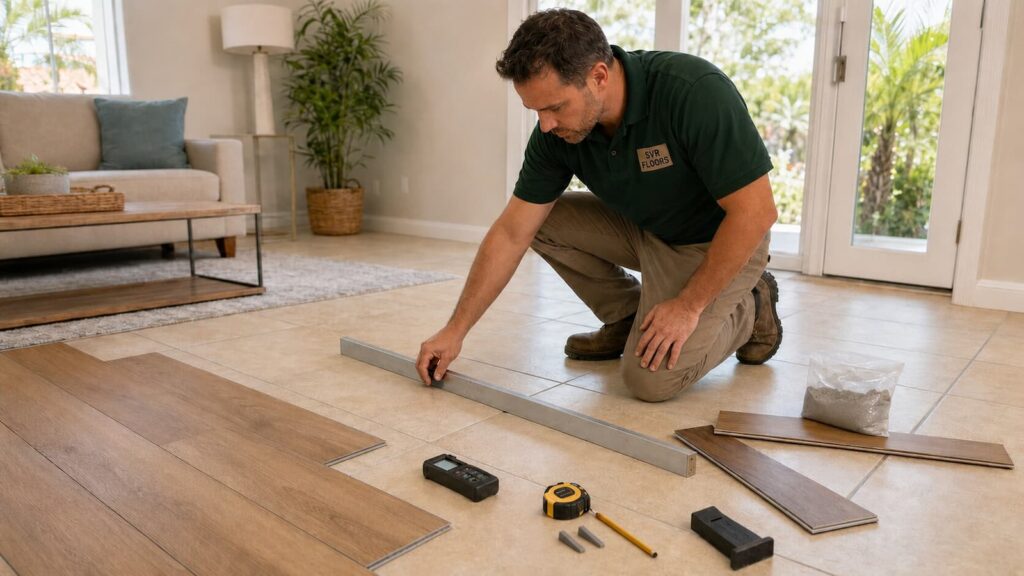
Removing tile is noisy, dusty work, so the idea of laying luxury vinyl plank directly over it is understandably appealing. In the right room, with the right LVP, that approach can work very well. The tile stays in place, demolition is reduced, and the new floor can move forward after a much more controlled preparation process.
The tile still has to earn its place under the new floor. A surface that looks solid from standing height may include hollow tiles, raised edges, deep grout joints, old repairs, or moisture evidence near a sliding door. Once LVP covers those details, reaching them again means opening the finished floor.
That is why “Can LVP go over tile?” is not quite the whole question. The useful question is whether this particular tile floor can serve as a flat, dry, stable, manufacturer-approved substrate for this particular vinyl plank. Product construction matters too. A floating rigid-core plank behaves differently from thin glue-down LVP, even if the two products have a similar wood pattern.
This guide explains how to make that decision, which tile problems can be corrected, when grout lines need attention, how added height affects doors and appliances, and when tile removal is the safer investment. The discussion focuses mainly on ceramic and porcelain floor tile. Natural stone, older resilient tile, shower floors, and exterior tile bring additional concerns that are addressed separately below.
The Short Answer: Yes, LVP Can Go Over Tile If the Tile Passes Every Check
Luxury vinyl plank can often be installed over existing ceramic or porcelain tile when the tile is firmly bonded, flat enough for the selected product, clean, dry, and free of movement. Recessed grout joints or tile texture may need a compatible patch or skim coat. The added floor height must also work at doors, transitions, cabinets, toilets, and appliances.
The LVP manufacturer has the final say. Some rigid-core products expressly allow installation over sound ceramic tile. Others attach specific limits to grout-joint width, depth, floor flatness, underlayment, moisture control, or the number of existing floor layers. Those details are not interchangeable between products.
| Condition to Check | Overlay May Be Reasonable | Removal or More Investigation Is Safer |
|---|---|---|
| Tile bond | Tiles are fully adhered and do not rock, lift, or sound broadly hollow | Loose, tented, drummy, or repeatedly cracked areas are widespread |
| Surface flatness | Tile field meets the exact LVP flatness tolerance after local corrections | Severe lippage, waves, high ridges, or broad low areas remain |
| Grout and texture | Joints and texture can be filled or skimmed with an approved material | Grout is crumbling, tile is deeply textured, or correction would be extensive |
| Moisture | Surface is dry and there is no unexplained staining, odor, or active leak | Efflorescence, recurring dampness, musty odor, or water damage is present |
| Finished height | Doors, appliances, transitions, trim, and fixtures still work at the new elevation | The added layer traps an appliance, blocks a door, or creates an unsafe transition |
| Product approval | The current installation guide permits the tile substrate and planned assembly | The guide excludes the substrate, added pad, floor layers, or room conditions |
If all six checks land in the middle column, an overlay can be a practical installation plan. One serious problem in the right-hand column may be enough to change the scope. Covering loose tile, active moisture, or excessive lippage does not isolate the problem; it places the new floor on top of it.
First, Identify What “Tile” Actually Means in Your Home
Ceramic and porcelain floor tile are the most common candidates for an LVP overlay. They are hard, dimensionally stable surfaces, and many rigid-core installation guides list them as acceptable when they are sound and properly prepared. Terrazzo and quarry tile may also be permitted, though their joints and surface variation often require closer attention.
Natural stone is less predictable. Slate can have cleft ridges, travertine may contain filled voids, and tumbled stone can vary substantially from one piece to the next. A stone floor might be structurally sound yet need enough smoothing that removal becomes the cleaner option. Sealers on stone can also affect primers, patches, and adhesives.
Vinyl composition tile, luxury vinyl tile, and older resilient tile are different substrates despite the word “tile” in their names. A fully bonded resilient tile may be allowed under some products, while a floating click-together tile usually is not. Cushioned flooring and floating floors generally need to come out because they allow movement beneath the new locking system.
Age matters here. Some older resilient floor tiles and black asphaltic adhesives can contain asbestos. Ceramic and porcelain themselves are not the usual concern, but old flooring or adhesive may exist below them or in an adjoining area. If the material is uncertain, do not sand, grind, scrape, or break it based on appearance alone. Testing and, where necessary, professional abatement should come before flooring preparation.
Exterior tile, balcony tile, shower pans, and floors built around drains should not be treated like a normal interior living-room substrate. They may be sloped for drainage, exposed to large temperature swings, or part of a waterproofing assembly. Standard interior LVP is not a shortcut for converting those surfaces.
The Tile Must Be Firmly Bonded, Not Merely Intact on Top
A tile can look perfect and still be loose underneath. Its grout may hold it in position while the mortar bond has released over much of the back. Place a floating LVP floor over that tile and the weak layer remains in the assembly. Foot traffic can make the tile move, the grout can crumble, and the LVP above may begin to click or flex.
Installers often combine visual inspection with a controlled tap test. The sound changes when a tile has a large unsupported or poorly bonded area, although sound alone is not a complete diagnosis. Large tiles, mortar coverage, slab conditions, and room acoustics can all affect what a tap sounds like. Rocking edges, cracked grout around one tile, vertical movement, and tenting are stronger warnings.
Pay special attention to these signs:
- A tile moves or rocks under concentrated pressure
- Grout is cracked around the full perimeter of one or more tiles
- Several tiles sound markedly different from the surrounding field
- Tile edges have lifted or formed a small ridge
- Cracks continue across multiple tiles in the same line
- Past repairs are loose, powdery, or no longer flush
- The floor has tented upward away from the substrate
One loose piece does not condemn a room, but a loose pattern does. An isolated tile may be removable and repairable: take it out, clear the unstable mortar, and fill the cavity with a compatible patch that finishes flush. A room with many hollow or loose tiles tells a different story. At that point, repairing one square at a time may take more effort than exposing the slab or subfloor.
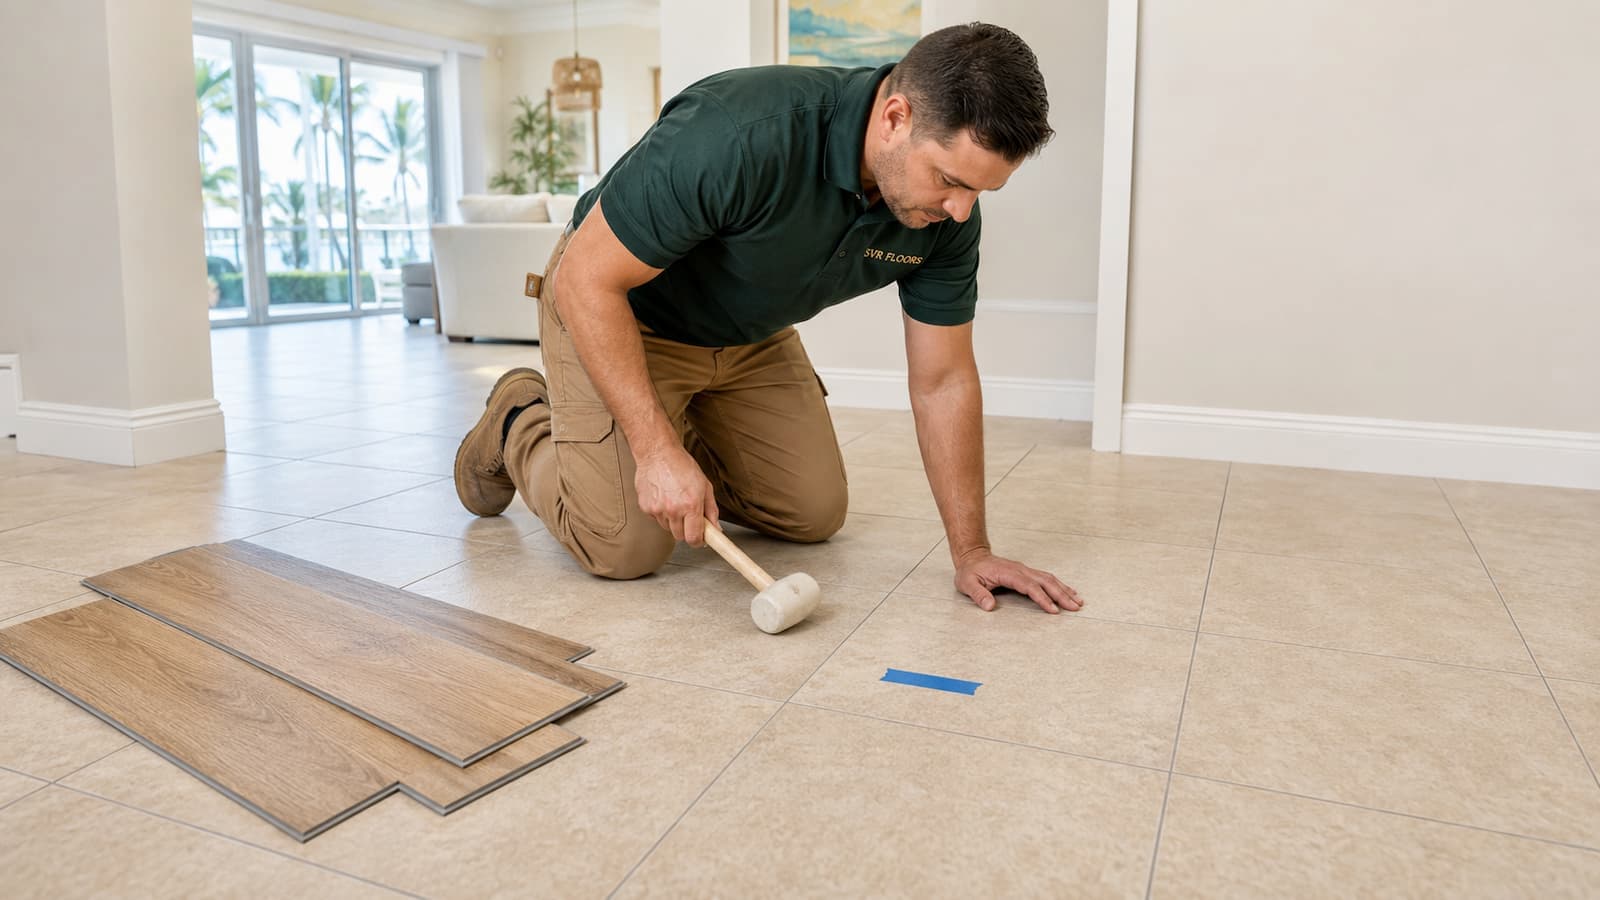
Cracks need context too. A hairline crack limited to one tile might come from an old impact. A line running through tile, grout, and neighboring pieces may reflect movement in the slab or subfloor. LVP can hide the line from view, but it cannot stop the layer below from moving.
Flatness Matters More Than the Tile’s Shine
Rigid-core LVP is sometimes advertised as forgiving over existing hard floors. That does not mean it can span any dip or lippage. A click-lock plank still needs even support. If it bridges a low area, each step can bend the plank slightly. The movement may begin as a faint click and eventually stress the locking edge.
Tile creates several kinds of surface variation. One piece may sit higher than its neighbor. A repaired tile may have a proud edge. A room can have a broad low area even though every individual tile looks flat. Deep grout lines add many narrow depressions, while textured tile creates countless smaller ones.
A long straightedge reveals conditions that are difficult to judge by eye. The check has to cross the grout pattern, not simply follow it.
Any gap under the straightedge or point where it rocks is compared with the flatness requirement in the selected LVP guide. There is no safe universal tolerance to borrow from another carton.
Localized low spots may accept an approved patch. Small high areas can sometimes be corrected without removing the entire floor, but the method must suit the tile and the materials above it. Broad waves, pronounced lippage, or extensive repairs may call for professional floor leveling or tile removal.
Flat and level are not the same. A room can slope gradually and still provide consistent support. A floor can also be generally level while one raised tile edge creates a pressure point. SVR Floors’ guide to floor flatness before LVP installation explains that distinction in more detail.
Do You Need to Fill Grout Lines Before Installing LVP?
Sometimes. Shallow, narrow grout joints may fall within the allowance of one rigid-core product. Another product may require them to be filled. Thin glue-down LVP usually demands a smoother surface because joints and tile edges can telegraph through the material or interfere with a uniform adhesive bond.
Width alone does not settle it. A wide joint that finishes almost flush may be less troublesome than a narrower but deep recess. Hundreds of mosaic joints create a different surface from a few nearly flush lines between large porcelain tiles. Crumbling grout must be stabilized rather than buried under patch.
Published manufacturer guides show why a number found online should not be treated as a general rule:
| Published Product Example | Tile and Grout Direction in That Guide | What It Demonstrates |
|---|---|---|
| MSI Everlife rigid core | Fill ceramic or porcelain grout lines exceeding 1/16 inch with a Portland-based skim coat or leveler | Some products set a very small joint threshold |
| Karndean rigid core | Level grout lines with a width and/or depth greater than 3/16 inch | Both width and depth can control the requirement |
| Mohawk SolidTech Plus | Fill grout joints wider than 1/4 inch and meet the guide’s separate flatness limits | Grout preparation and overall flatness are different checks |
These are product-specific examples, not a ranking and not a combined standard. Installation guides can change, and another line from the same manufacturer may use different instructions. Read the current guide for the exact SKU being installed, including its definitions of approved patch, primer, underlayment, and moisture control.
Preparation may involve filling individual joints, feathering tile edges, or applying a thin continuous skim coat. The patch must bond to a dense, possibly glazed surface and remain compatible with everything above it. Some systems need cleaning and a primer before patching. Randomly spreading a generic compound over glossy tile can leave another weak layer.
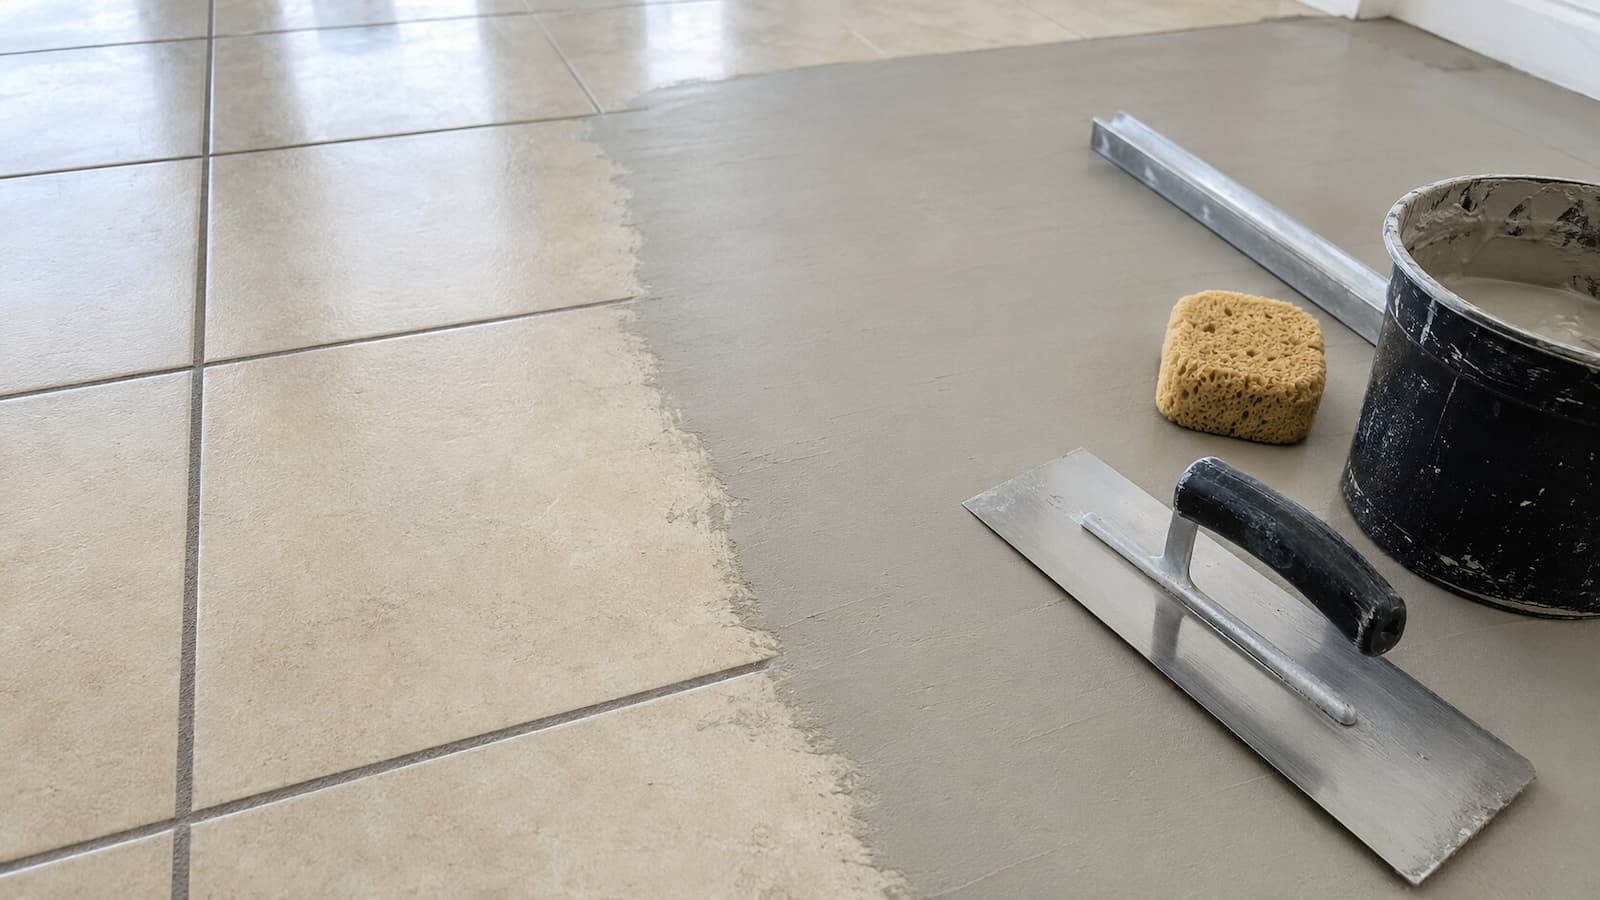
Let the material cure as directed, then check the floor again. A skim coat can look smooth while still containing a ridge, pinhole, or low edge that needs a second pass. The finished surface—not the amount of compound used—is what supports the plank.
Floating LVP and Glue-Down LVP Need Different Answers
Floating rigid-core LVP over tile
Floating LVP connects at the edges and rests over the prepared tile rather than bonding to it. Many SPC and WPC products use this method. The rigid core can help bridge minor surface texture, but the floor still depends on support across every plank and on clearance around walls and fixed objects.
Existing tile can be a useful hard substrate when it is flat and secure. It may also make the room feel slightly firmer than a wood subfloor. What it cannot do is cancel a low spot or prevent a loose tile from moving. Rigid planks may actually make a localized void easier to hear because the plank acts like a small sounding board.
Underlayment rules deserve close attention. If the plank already has an attached pad, adding another cushioned layer may create more vertical movement than the locking system allows. Some manufacturers approve a particular acoustic or vapor-control product; others prohibit extra pad. In condos, an association may also require a documented sound-control assembly, but that requirement still has to remain compatible with the LVP warranty.
Glue-down LVP over tile
This is where thin glue-down plank gets demanding. The adhesive needs a continuous compatible surface, and a glossy glaze, old polish, soap film, grease, or incompatible patch can interrupt the bond. Even a slight grout depression may show through the plank over time.
For that reason, a glue-down overlay often needs a complete smoothing system rather than spot filling. The system may include cleaning, mechanical preparation or an approved primer, patch or underlayment, and an adhesive rated for the finished substrate. The sequence comes from the adhesive, patch, and flooring manufacturers—not from a general tile-over-tile recipe.
Moisture limits are also tied to the adhesive. A loose plastic vapor sheet cannot sit between a glue-down plank and the tile because the plank must bond to the prepared surface. If moisture vapor is too high, the project may need a compatible mitigation system or a different flooring plan.
If you are still choosing an installation method, compare how floating and glue-down vinyl plank perform in Florida homes before deciding whether the existing tile should stay.
How a Professional LVP-Over-Tile Preparation Usually Proceeds
The order matters. Installing a few rows and then discovering a rocking tile or blocked doorway wastes material and can damage click-lock edges during disassembly. A careful project settles the substrate and height questions first.
- Confirm the exact flooring system. The installer reviews the current product guide, attached-pad construction, approved substrates, flatness requirement, grout limits, expansion rules, and moisture instructions. “Waterproof LVP” on a sample board is not enough information.
- Map the room at its new elevation. Doors, sliding tracks, transitions, baseboards, cabinets, islands, toilets, floor vents, dishwashers, refrigerators, and adjoining floors are checked before surface work begins.
- Inspect and sound the tile field. Loose pieces, tented areas, cracked grout, repaired sections, hollow zones, lippage, stains, and movement are marked. Isolated defects are separated from patterns that suggest widespread bond or substrate trouble.
- Check flatness in several directions. A long straightedge crosses both the tile grid and diagonal lines. Low and high points are mapped against the selected product’s tolerance, including doorways and long runs through connected rooms.
- Make stable repairs. Loose tile and weak material are removed where appropriate. Cavities, low areas, and joints receive a compatible patch or smoothing system. On a wood-framed floor, softness or deflection may require subfloor repair before cosmetic smoothing.
- Clean and prepare the surface. Dust, grease, wax, polish, soap film, sealer residue, and debris are removed. Priming or abrasion is used only when the chosen patch, adhesive, or flooring guide requires it and with proper dust controls.
- Resolve moisture and underlayment. Concrete-slab conditions, vapor-control requirements, attached pad, added acoustic layers, and any condo documentation are checked as one assembly. Materials are not stacked simply because each one is sold as underlayment.
- Recheck, lay out, and install. The cured surface is checked again for ridges and low edges. Rows are planned around sight lines and narrow cuts, perimeter clearance is maintained, and transitions are installed without pinning a floating floor.
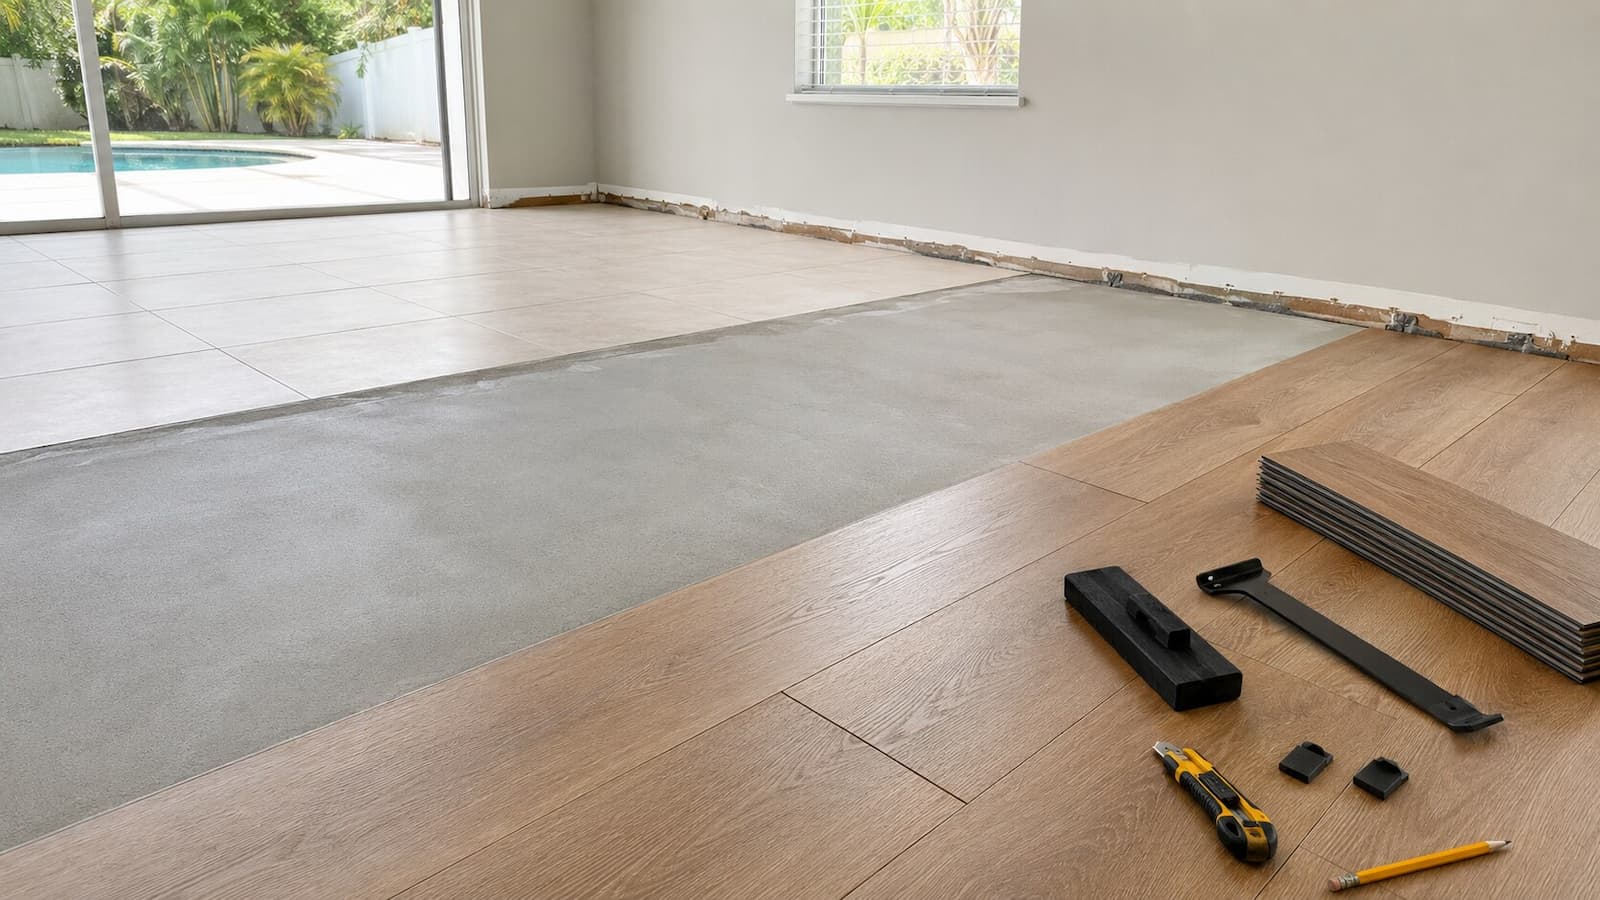
Not every project needs every correction in that list. A flat porcelain floor with nearly flush joints may need little beyond inspection and product-approved cleaning. A mosaic floor with old repairs may need extensive skim work. The sequence stays the same even when the scope changes.
Added Floor Height Can Be the Detail That Changes the Decision
Keeping tile avoids demolition, but it also preserves the tile’s full thickness. Add the LVP, attached pad, any approved vapor layer, and local smoothing material, and the finished surface rises. A fraction of an inch can be harmless in the middle of a room and troublesome at its edges.
Dishwashers deserve an early check. If one sits on the old tile beneath a fixed counter, a new floor in front can reduce the opening needed for removal. The appliance may run normally for years (and still be trapped when a technician eventually needs it out). Refrigerators, ranges, and laundry appliances can face leveling or clearance problems too.
Review the new elevation at:
- Interior and exterior door bottoms
- Sliding-glass-door and patio thresholds
- Transitions to bedrooms, carpet, hardwood, or bare slab
- Dishwashers beneath fixed countertops
- Ranges, refrigerators, washers, and dryers
- Toilet flanges and bathroom thresholds
- Closet tracks, floor vents, and low trim details
- Stair noses, step-downs, and sunken rooms
Baseboards may need to be removed and reset rather than left unusually low. Door casings can often be undercut cleanly, but an exterior door cannot always be altered without affecting its seal or rating. Transitions should solve a real height change without becoming a steep trip edge.
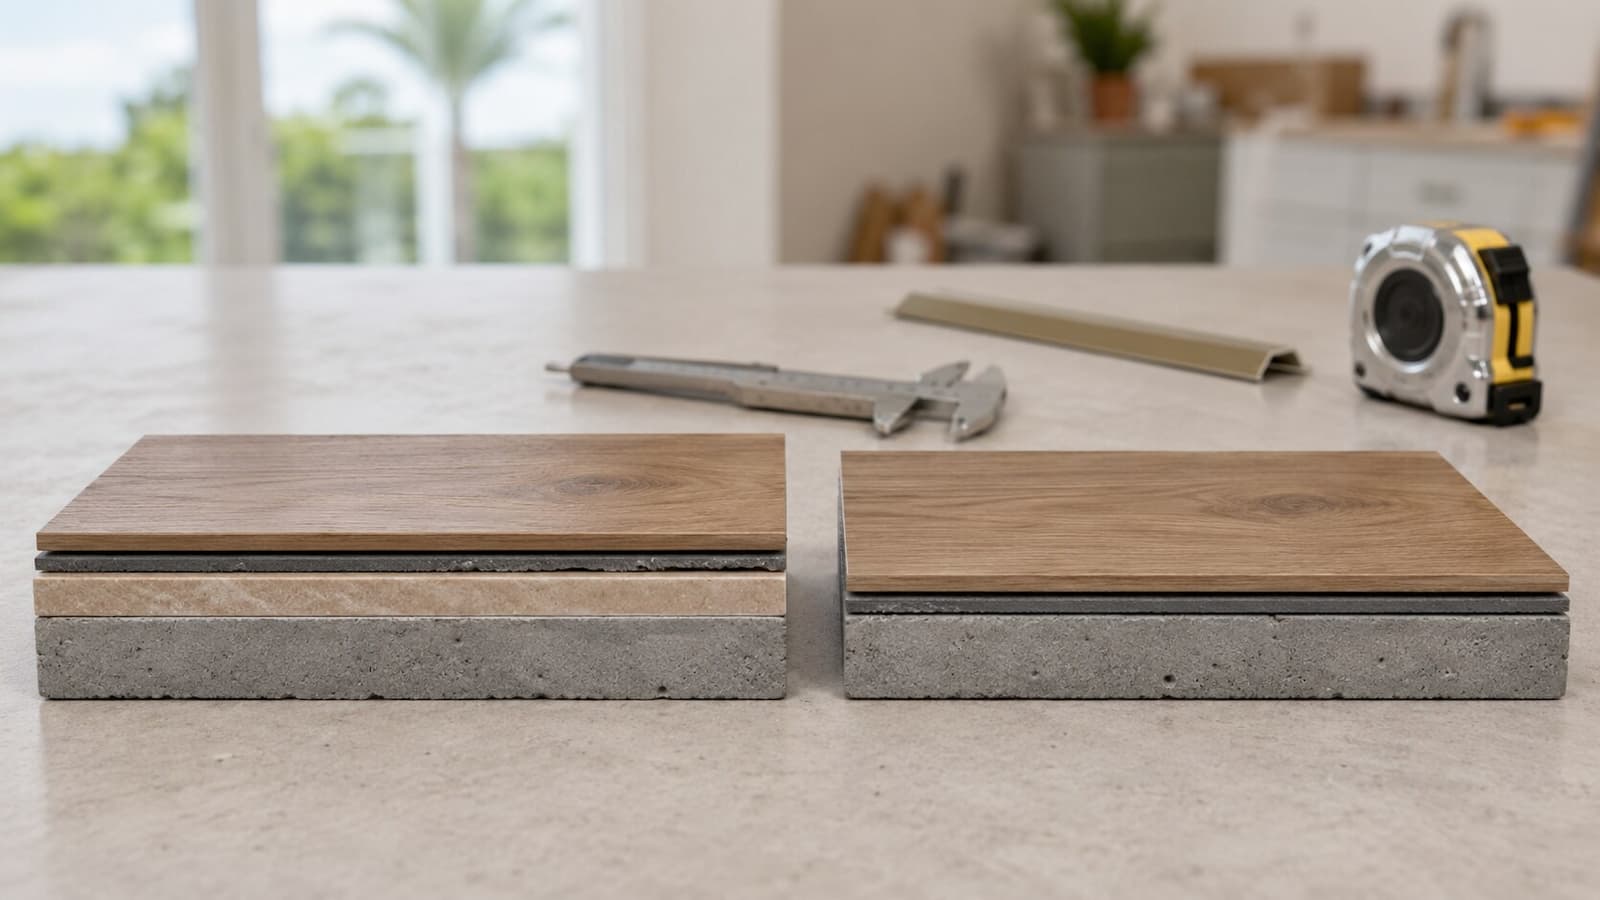
Measure before ordering transitions or cutting the first plank. Height conflicts discovered on paper are usually manageable. The same conflict found after a continuous floor reaches the kitchen is much more expensive.
When It Is Better to Remove the Tile First
An overlay saves work only while the old tile remains an asset. Once that tile becomes the largest uncertainty in the assembly, leaving it in place is no longer much of a shortcut.
- Loose or hollow areas are widespread. A few isolated repairs are one thing. A room full of questionable bond leaves too many failure points beneath the finished floor.
- The tile has tented or moved. Tiles pushed upward can signal loss of bond, movement, or missing accommodation. Covering the ridge does not remove the force that created it.
- Cracks follow a structural pattern. Long cracks crossing multiple tiles, recurring cracks, or vertical displacement need evaluation at the slab or subfloor level.
- Lippage and texture require excessive buildup. Deeply cleft stone, pronounced tile edges, or large waves may take so much smoothing that removal produces a cleaner elevation.
- Moisture evidence has no resolved cause. Efflorescence, dark grout, recurring dampness, odors, or water-damaged trim should be investigated before another low-permeance layer is added.
- The new height creates hard conflicts. A trapped dishwasher, blocked exterior door, unsafe step, or unworkable transition can outweigh demolition savings.
- The existing floor has too many layers. Tile over old resilient flooring, uncertain underlayment, or concealed wood damage may prevent a reliable assessment from the top.
- The chosen LVP system does not approve the assembly. Warranty language and installation limits are part of the product, even when another brand would permit the same tile.
Removal also gives access to the concrete slab or wood subfloor. That can be useful when a whole-home project needs lower transitions, when several rooms have different tile elevations, or when previous failures suggest a problem below the mortar bed. Demolition may reveal thinset ridges and low spots that still need preparation, so removal is not the same as a ready-to-install slab.
There is a middle path in some homes: remove tile only in the rooms where height, bond, or moisture makes it necessary, then plan deliberate transitions. It is less visually seamless than a continuous overlay, but sometimes more responsible than forcing one method through incompatible spaces.
Florida Concrete Slabs Still Need a Moisture Plan Under the Tile
Many Largo and Tampa Bay homes have ceramic tile bonded to a concrete slab. The tile may be dry at the surface while moisture vapor continues to move through the concrete and grout. Tile is not automatically a vapor barrier, and waterproof LVP does not make the entire layered floor waterproof.
Existing tile also limits direct access to the slab for some tests and repairs. That does not make testing impossible in every case, but it changes what can be observed. Staining near a sliding door, white mineral residue in grout, a musty smell after rain, or a history of appliance leaks deserves more attention than a quick surface reading.
A floating product may require an approved vapor-control layer over a slab or slab-connected tile assembly. Another product may rely on different conditions. Attached pad does not always replace a vapor barrier, and adding loose plastic without checking the guide can create seam, sound, or warranty problems. The article on moisture barriers under LVP on concrete covers those distinctions in depth.
Glue-down LVP takes another route. Adhesive has published moisture and pH limits, and the tile or smoothing layer has to remain bonded under those conditions. If mitigation is required, all components must be approved to work together.
Leaks are separate from normal vapor transmission. A dishwasher supply line, toilet seal, refrigerator line, AC drain, or wind-driven rain at a door can put liquid water beneath flooring. Fix and dry the source before deciding what stays. LVP should never be used as a lid over an unresolved wet area.
Room-by-Room Considerations
Living rooms and open floor plans
Large connected spaces make flatness and layout easier to feel. One low tile area can produce a repeatable click in the main traffic path, while a height change at a former room boundary can stress long plank runs. Check direct sun near large windows as well; some rigid-core products have additional requirements for heat-exposed rooms and long continuous installations.
Kitchens
Tile under kitchen cabinets can usually remain because the new floating floor stops at the fixed cabinetry rather than extending beneath it, subject to product instructions. The perimeter still needs clearance. Appliance access, dishwasher removal, island fastening, water lines, and the transition into adjacent rooms often decide whether keeping the tile is practical.
Bathrooms
LVP may be allowed over sound bathroom floor tile outside the shower or tub enclosure when the product is approved for the room. The toilet flange, vanity, threshold, perimeter sealing instructions, and history of leaks all need review. A waterproof plank surface is not a shower-pan system. Do not bridge floor drains or cover a tiled shower floor with ordinary LVP.
Laundry rooms and entries
These spaces see wet shoes, appliance vibration, sand, and occasional leaks. Confirm washer and dryer clearance at the raised floor height and preserve access to shutoffs and drain details. Near exterior doors, inspect grout and trim for old moisture evidence before treating the tile as a dry substrate.
Bedrooms reached from a tiled hallway
The tile itself may be ideal, while the transition into a carpeted or differently framed bedroom is not. Removing carpet exposes tack strip, low edges, and sometimes a different subfloor elevation. Plan the complete route rather than approving the hallway tile in isolation.
Underlayment Cannot Hide Bad Tile or Deep Grout Lines
Underlayment has specific jobs. Depending on the product, it may provide acoustic performance, limited thermal separation, protection from concrete vapor, or a backing approved by the LVP manufacturer. It is not a substitute for a stable tile bond or a flat surface.
Soft material compresses under a plank. It does not permanently fill a grout joint in the way a bonded patch does. If the underlayment is thick enough to mask lippage temporarily, it may also allow more vertical movement at the click-lock joints. That trade is rarely kind to a floating floor.
Products with attached pad require particular care. A second pad can make the floor feel quieter during a quick sample test and still exceed the locking system’s allowed compression. Use an added layer only when the current instructions approve its material, density, and thickness.
Condo sound requirements do not override the flooring instructions. If an association specifies an impact-insulation rating or a named underlayment, the LVP and complete assembly must be compatible with that requirement. Documentation should be settled before material is purchased.
When the tile is uneven, fix the surface. When the tile is loose, fix or remove the weak area. Underlayment comes after those decisions.
What Can Go Wrong When LVP Is Laid Over Tile Without Enough Prep?
The floor may look excellent on installation day. Furniture is out, the planks are new, and no one has walked the same route hundreds of times. Problems below tile tend to show themselves later through movement, sound, or a finish detail that no longer fits.
| Symptom After Installation | Possible Tile-Related Cause | Why a Surface Fix May Not Last |
|---|---|---|
| Clicking in one repeatable spot | Low area, raised tile edge, loose tile, or unsupported repair | The plank continues to flex over the same point |
| End joints begin opening | Movement from poor support has stressed the locking edge | Pushing the seam closed does not restore support below it |
| Grout-grid pattern becomes visible | Thin LVP or inadequate smoothing over recessed joints | The original surface profile remains under the plank |
| Adhesive releases or sounds tacky | Contamination, glazed tile, moisture, or incompatible prep | The bond failure exists across an interface below the finish |
| Door rubs or appliance cannot be removed | Added floor height was not planned | Trimming one detail may not solve the entire elevation conflict |
| Odor or dampness appears | Leak or vapor condition was enclosed without a complete plan | The moisture source remains active beneath the LVP |
Repair becomes harder once the floor is complete. A floating installation may need to be disassembled from the nearest accessible wall. Glue-down plank may have to be removed from the affected area, and matching replacement material may no longer be readily available. The least visible preparation step can become the most expensive omission.
What Homeowners Can Check Before Requesting an Estimate
You do not need to pry up tile or grind a test area. A short room-by-room review can identify the questions an installer should answer and make the estimate more useful.
- Walk the room slowly and note rocking, clicking, or changing sound
- Photograph cracked tile, cracked grout, old patches, and raised edges
- Look for white mineral residue, dark grout, swelling trim, or musty odor
- Measure the current clearance beneath interior and exterior doors
- Check whether the dishwasher can move downward or forward for service
- Identify every adjoining flooring type and visible height change
- Find the LVP carton label, model number, and current installation guide
- Confirm whether the product has attached pad
- Collect any condo or HOA acoustic-flooring requirements
- Share the history of leaks, even if the surface now appears dry
- Note radiant heating, floor drains, sunrooms, and strong direct sunlight
A contractor can then check bond, flatness, grout profile, product compatibility, and finished elevation on site. Some preparation allowances may remain provisional until trim is removed or an isolated loose tile is opened. That uncertainty should be explained in the scope rather than hidden inside a low initial number.
Does Installing Over Tile Really Save Time and Money?
It can. Keeping a sound tile floor may eliminate demolition, hauling, thinset removal, and a large part of the dust-control work. The room can move into preparation sooner, and the home avoids the vibration and noise of breaking tile.
Then the arithmetic changes. Broad skim coating, many isolated repairs, difficult height corrections, or special moisture work can consume much of the demolition savings. Glue-down LVP may require enough smoothing and priming that the labor advantage becomes modest. A complicated overlay also leaves less access to future slab or subfloor problems.
Compare complete scopes rather than demolition alone. An overlay estimate should say what happens to loose tiles, grout joints, lippage, transitions, baseboards, doors, appliances, moisture planning, and unexpected defects. A removal estimate should include what happens to the remaining thinset and how the exposed surface will be brought within the LVP tolerance.
The lower-risk option is often the better value, even if it is not the option with the fewest first-day labor hours. A tile floor that is genuinely sound is worth keeping. A tile floor that needs to be defended with guesses is not.
Frequently Asked Questions About Installing LVP Over Tile
Can click-lock LVP be installed directly over ceramic tile?
Often, yes. The ceramic tile must be fully bonded, dry, clean, and flat enough for the exact click-lock product. Grout joints, tile texture, lippage, underlayment, moisture control, and added floor height still need review. The current manufacturer guide must list the substrate as acceptable.
Will tile grout lines show through LVP?
They can, especially beneath thin glue-down LVP or when joints are wide and deep. Rigid-core plank is less likely to show a shallow joint visually, but a joint that exceeds the product allowance still needs filling. An approved skim coat can create a smoother continuous surface.
Do I have to sand ceramic tile before installing LVP?
Not automatically. Floating LVP may require cleaning and surface corrections without sanding the entire tile field. Glue-down systems, primers, and patches may call for specific abrasion or preparation. Follow the component instructions and use proper dust controls. Do not abrade unidentified older flooring or adhesive.
Can LVP go over cracked tile?
A small isolated crack may be repairable after its cause is assessed. Cracks that cross several tiles, recur after repair, include vertical displacement, or follow a slab crack need more investigation. The new plank can conceal a crack; it cannot stabilize movement below it.
Does tile act as a moisture barrier under LVP?
Do not assume that it does. Moisture vapor can move through a concrete slab, grout joints, cracks, and the tile assembly. The LVP manufacturer’s slab and vapor-control instructions still apply, and active leaks must be corrected separately.
Can I install LVP over bathroom floor tile?
It may be possible outside the shower or tub when the tile is sound and the LVP is approved for the room. Check the toilet flange, threshold, vanity, perimeter details, and leak history. Ordinary LVP should not cover a shower floor, floor drain, or waterproof shower-pan assembly.
Can extra underlayment smooth out tile grout?
No. Underlayment may have acoustic or vapor-control functions, but it is not a bonded filler. A soft extra layer can increase movement at click-lock joints and may violate the product requirements. Correct unacceptable joints and lippage with an approved surface-preparation method.
Is it always cheaper to leave the tile?
No. A sound, flat tile floor can reduce demolition and disposal. Extensive repairs, smoothing, height corrections, moisture work, or glue-down preparation may narrow or erase that advantage. Compare the complete preparation and finish scope for both options.
Can LVP be installed over heated tile?
Only when the LVP, underlayment, and existing heating system are approved to work together. Manufacturer temperature limits, startup procedures, and sensor location matter. A functioning tile-heating system should be documented and tested before it becomes inaccessible beneath the new floor.
The Tile Decides Whether the Shortcut Is Real
There is nothing improvised about a properly planned LVP-over-tile installation. It works when the existing floor is sound enough to become part of the new assembly: reliable bond, adequate flatness, manageable grout and texture, dry conditions, workable finished height, and approval from the exact flooring system.
Floating rigid-core LVP is often the most practical overlay candidate, but it still needs support and the correct underlayment arrangement. Glue-down plank places greater demands on smoothness, surface compatibility, and adhesive conditions. Neither method repairs movement or moisture by covering it.
When the tile passes inspection, professional vinyl plank flooring installation can preserve a good substrate and reduce unnecessary demolition. When it fails, removing the tile gives the project a chance to correct the actual floor rather than build over an uncertainty.
For a home in Largo or a nearby Tampa Bay community, an experienced flooring contractor can check the tile field, grout, slab or subfloor conditions, doors, appliances, and transitions before the installation plan is finalized. A ten-minute look at one loose tile can change the scope. That is exactly why the inspection belongs before the first plank.